Quick & Easy Crochet Pumpkin
Skill Level: Beginner+
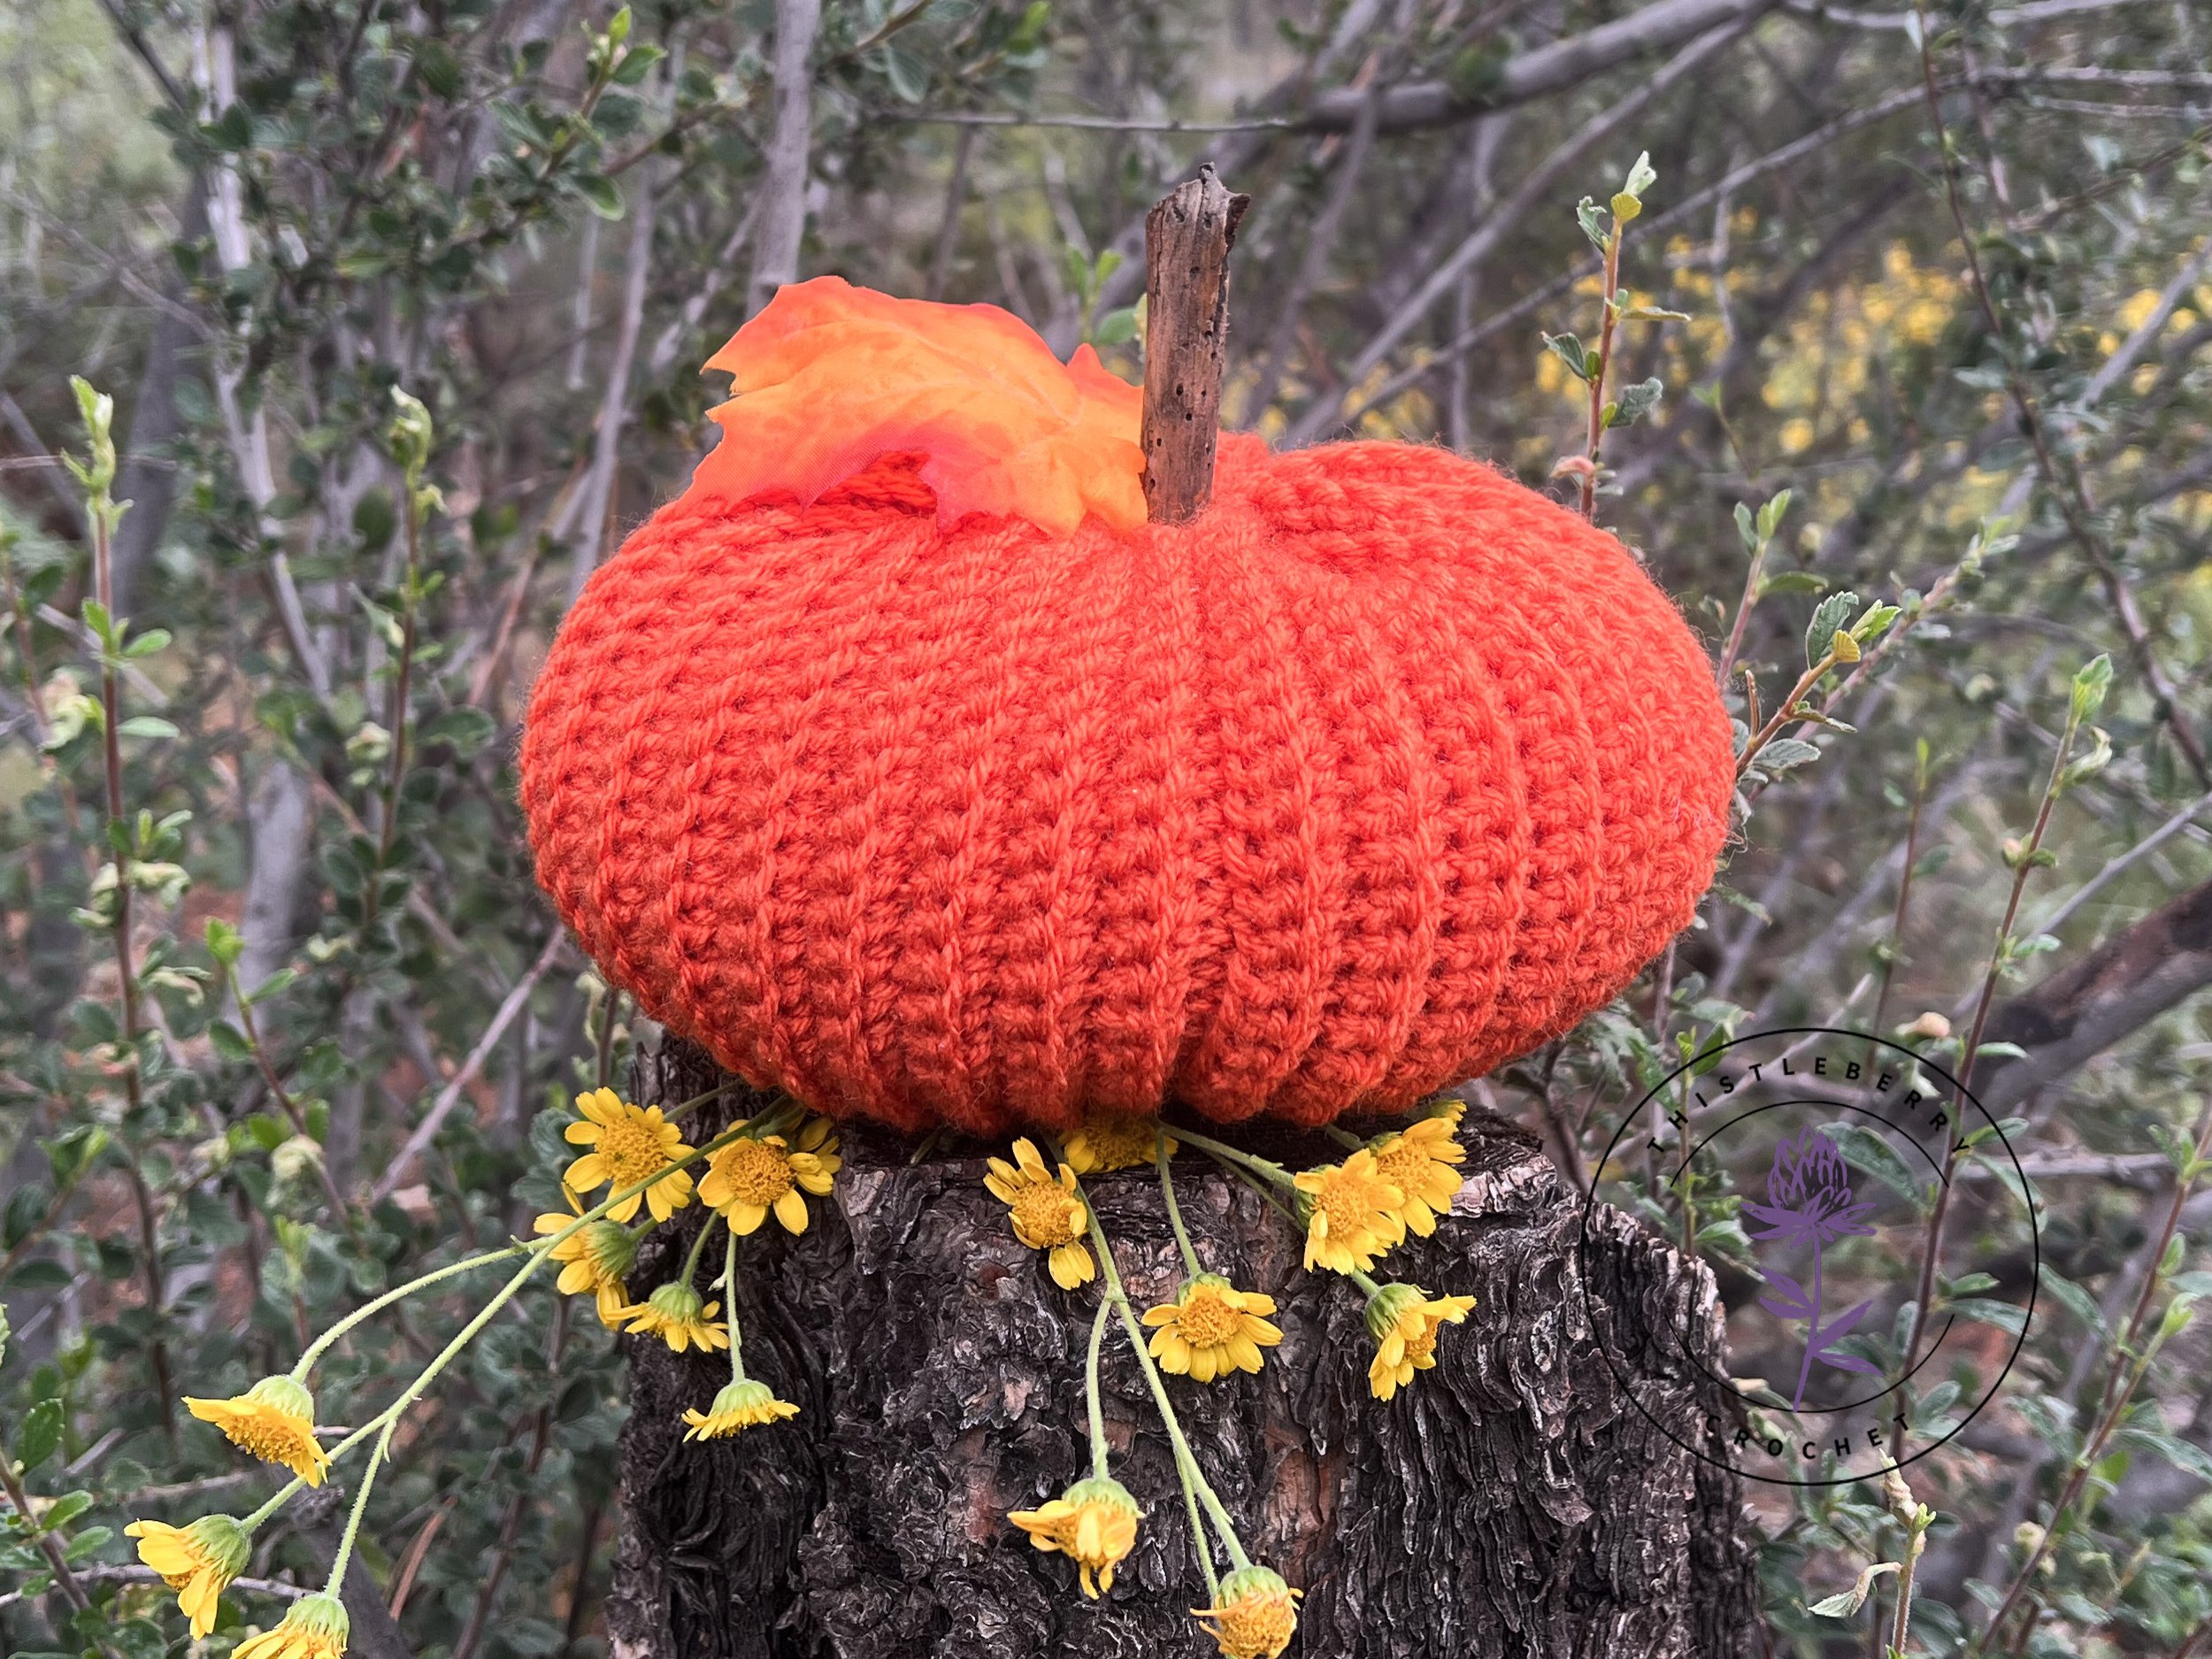
This beginner-friendly crochet pumpkin works up quickly (and easily!). You can adjust the amount of stuffing you use to create a taller, firmer pumpkin, or you can keep things slouchy and squishy (and a bit more flat). We create this sweet lil’ pumpkin by first creating a rectangle that’s 8” x 16.5”, and then slip stitching the edges together to create our round pumpkin shape. If you’re using a different weight of yearn, or using a different stitch entirely, your pumpkin should still come out super cute if you have that panel size correct.
As always, you’ll find a link below to watch my tutorial video on YouTube if you need help along the way!
KEEP SCROLLING FOR A LINK TO THE YOUTUBE VIDEO TUTORIAL
Quick & Easy Pumpkin
Supply List:
Yarn I Used:
Mary Maxim Value (Color: Pumpkin)
1 ball is 474 yards and enough to make about 3 pumpkins
I purchased mine on Amazon here!
Hook: H / 5mm (you can buy find my favorite H hook here)
Yarn/Darning Needle
Craft Scissors
Poly-Fil or anything else you’d like to use to stuff the body of your pumpkin
Pumpkin Toppings :)
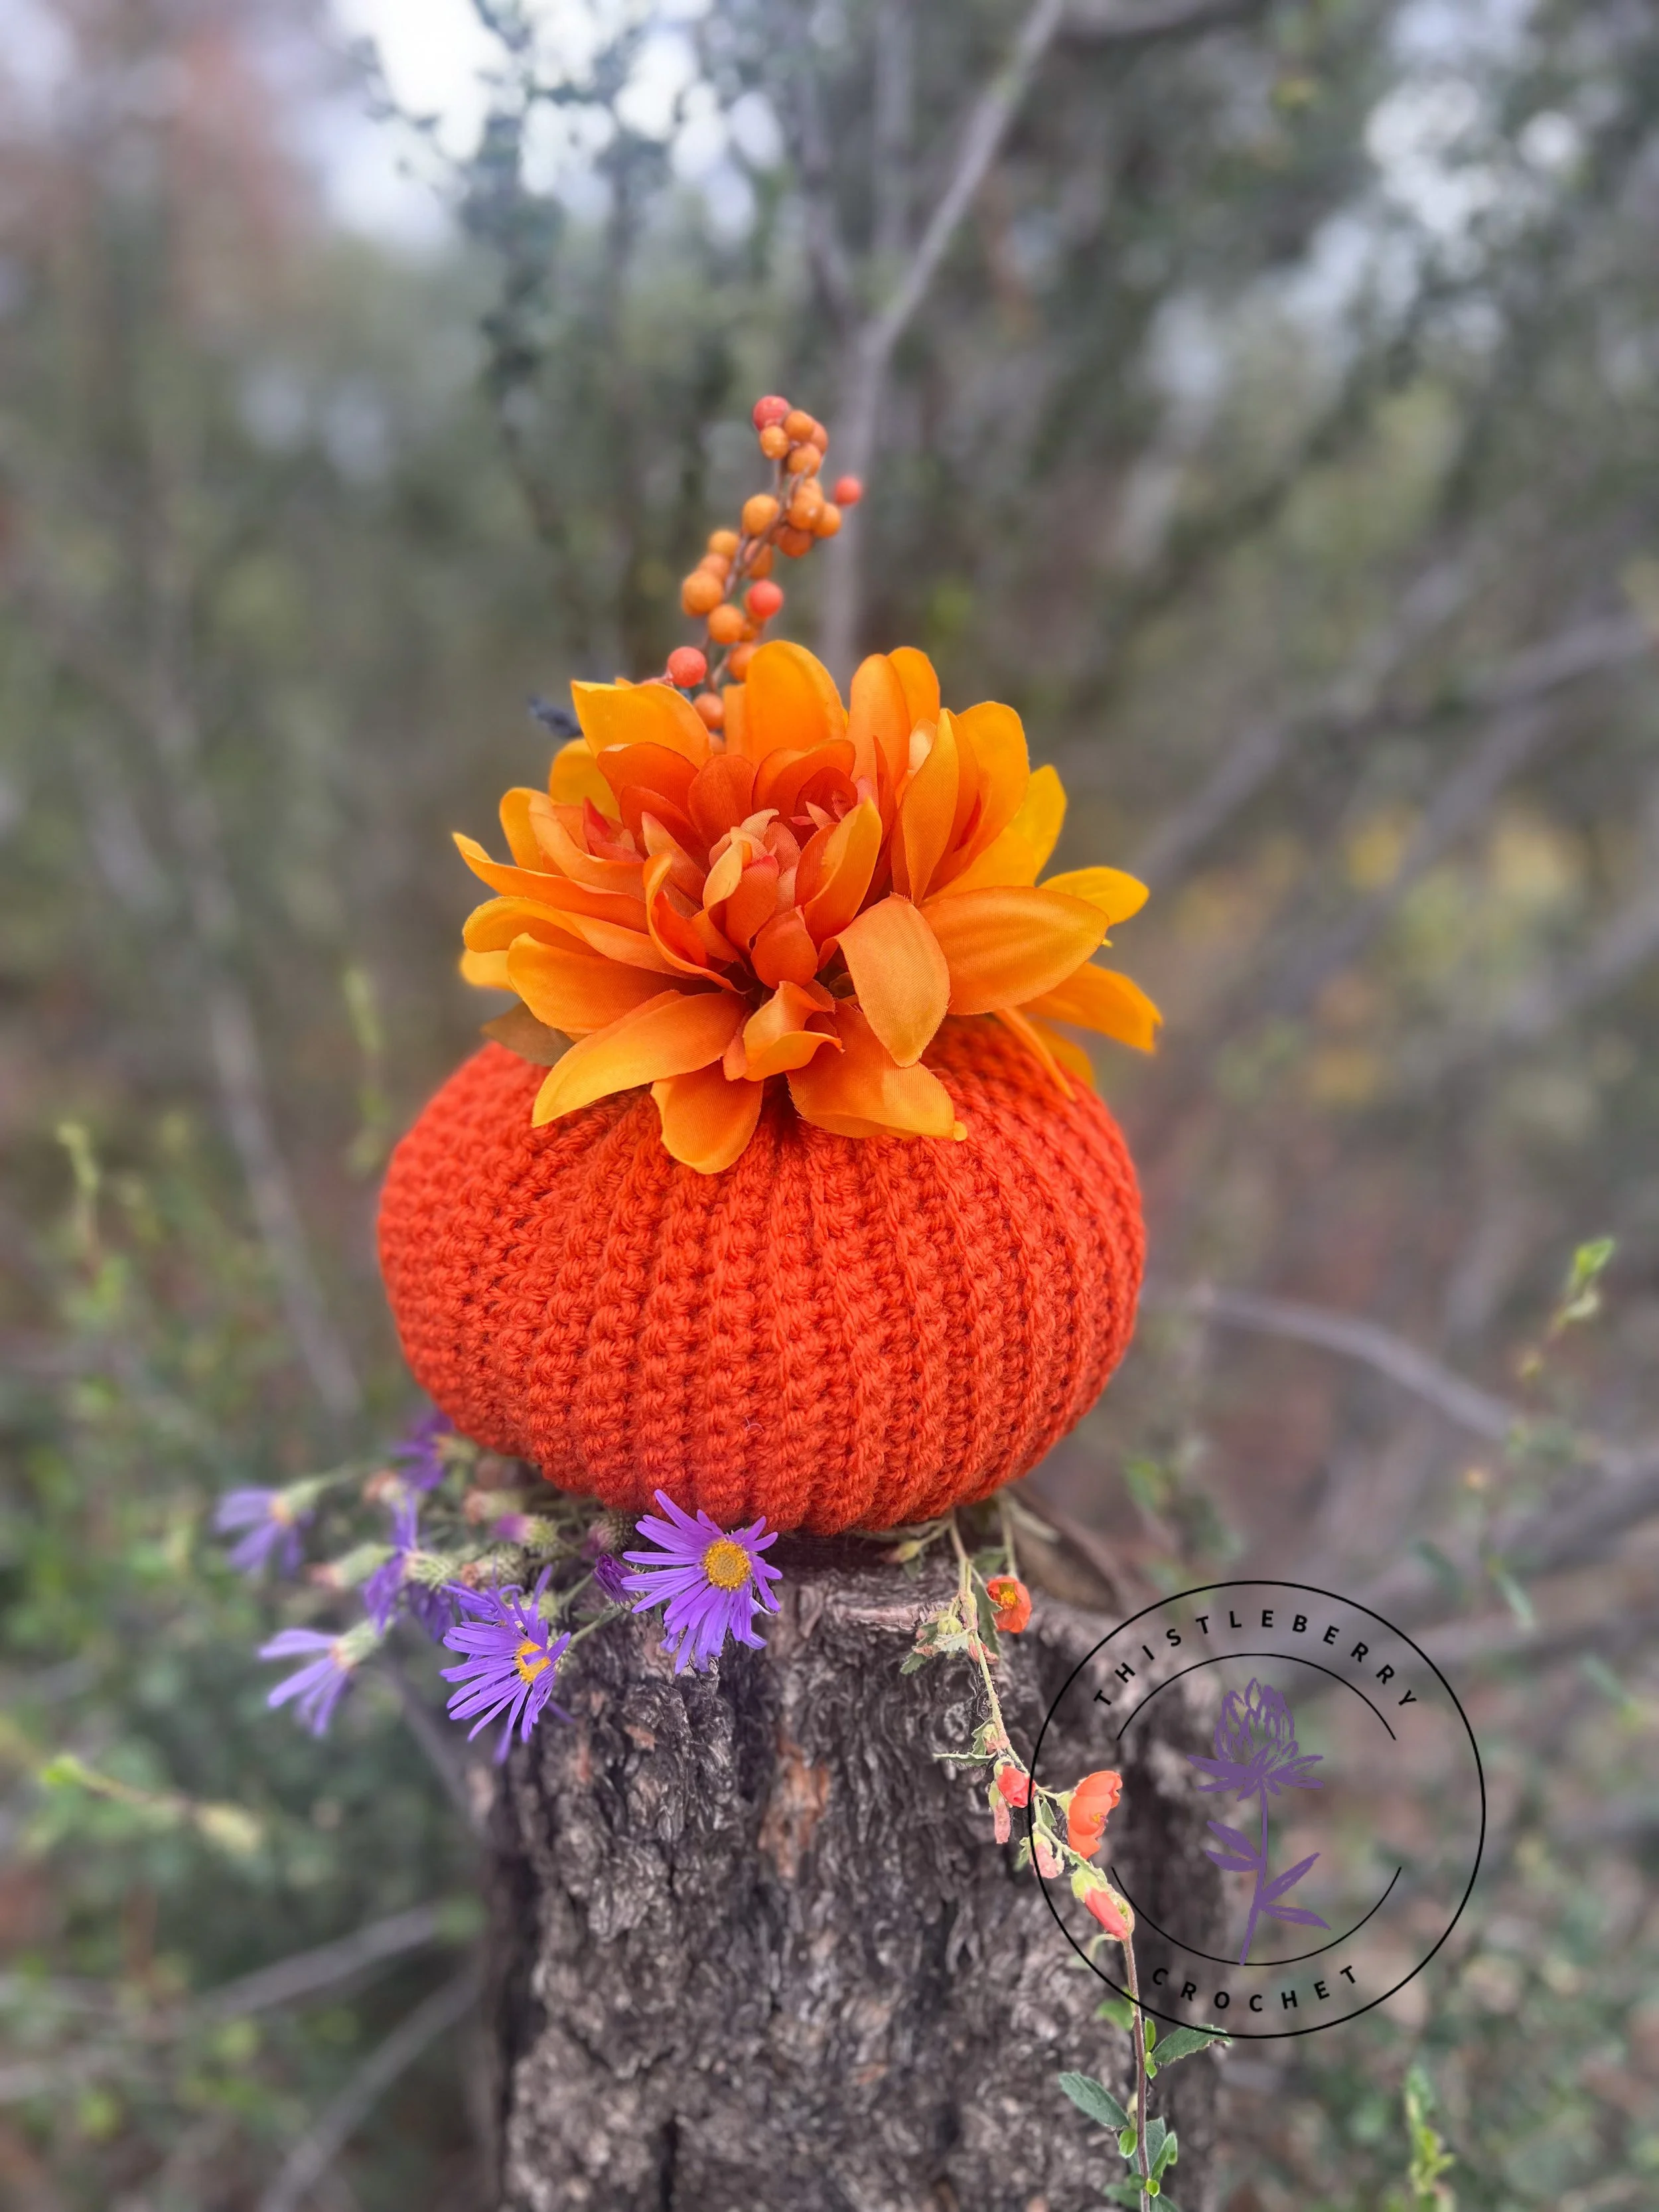
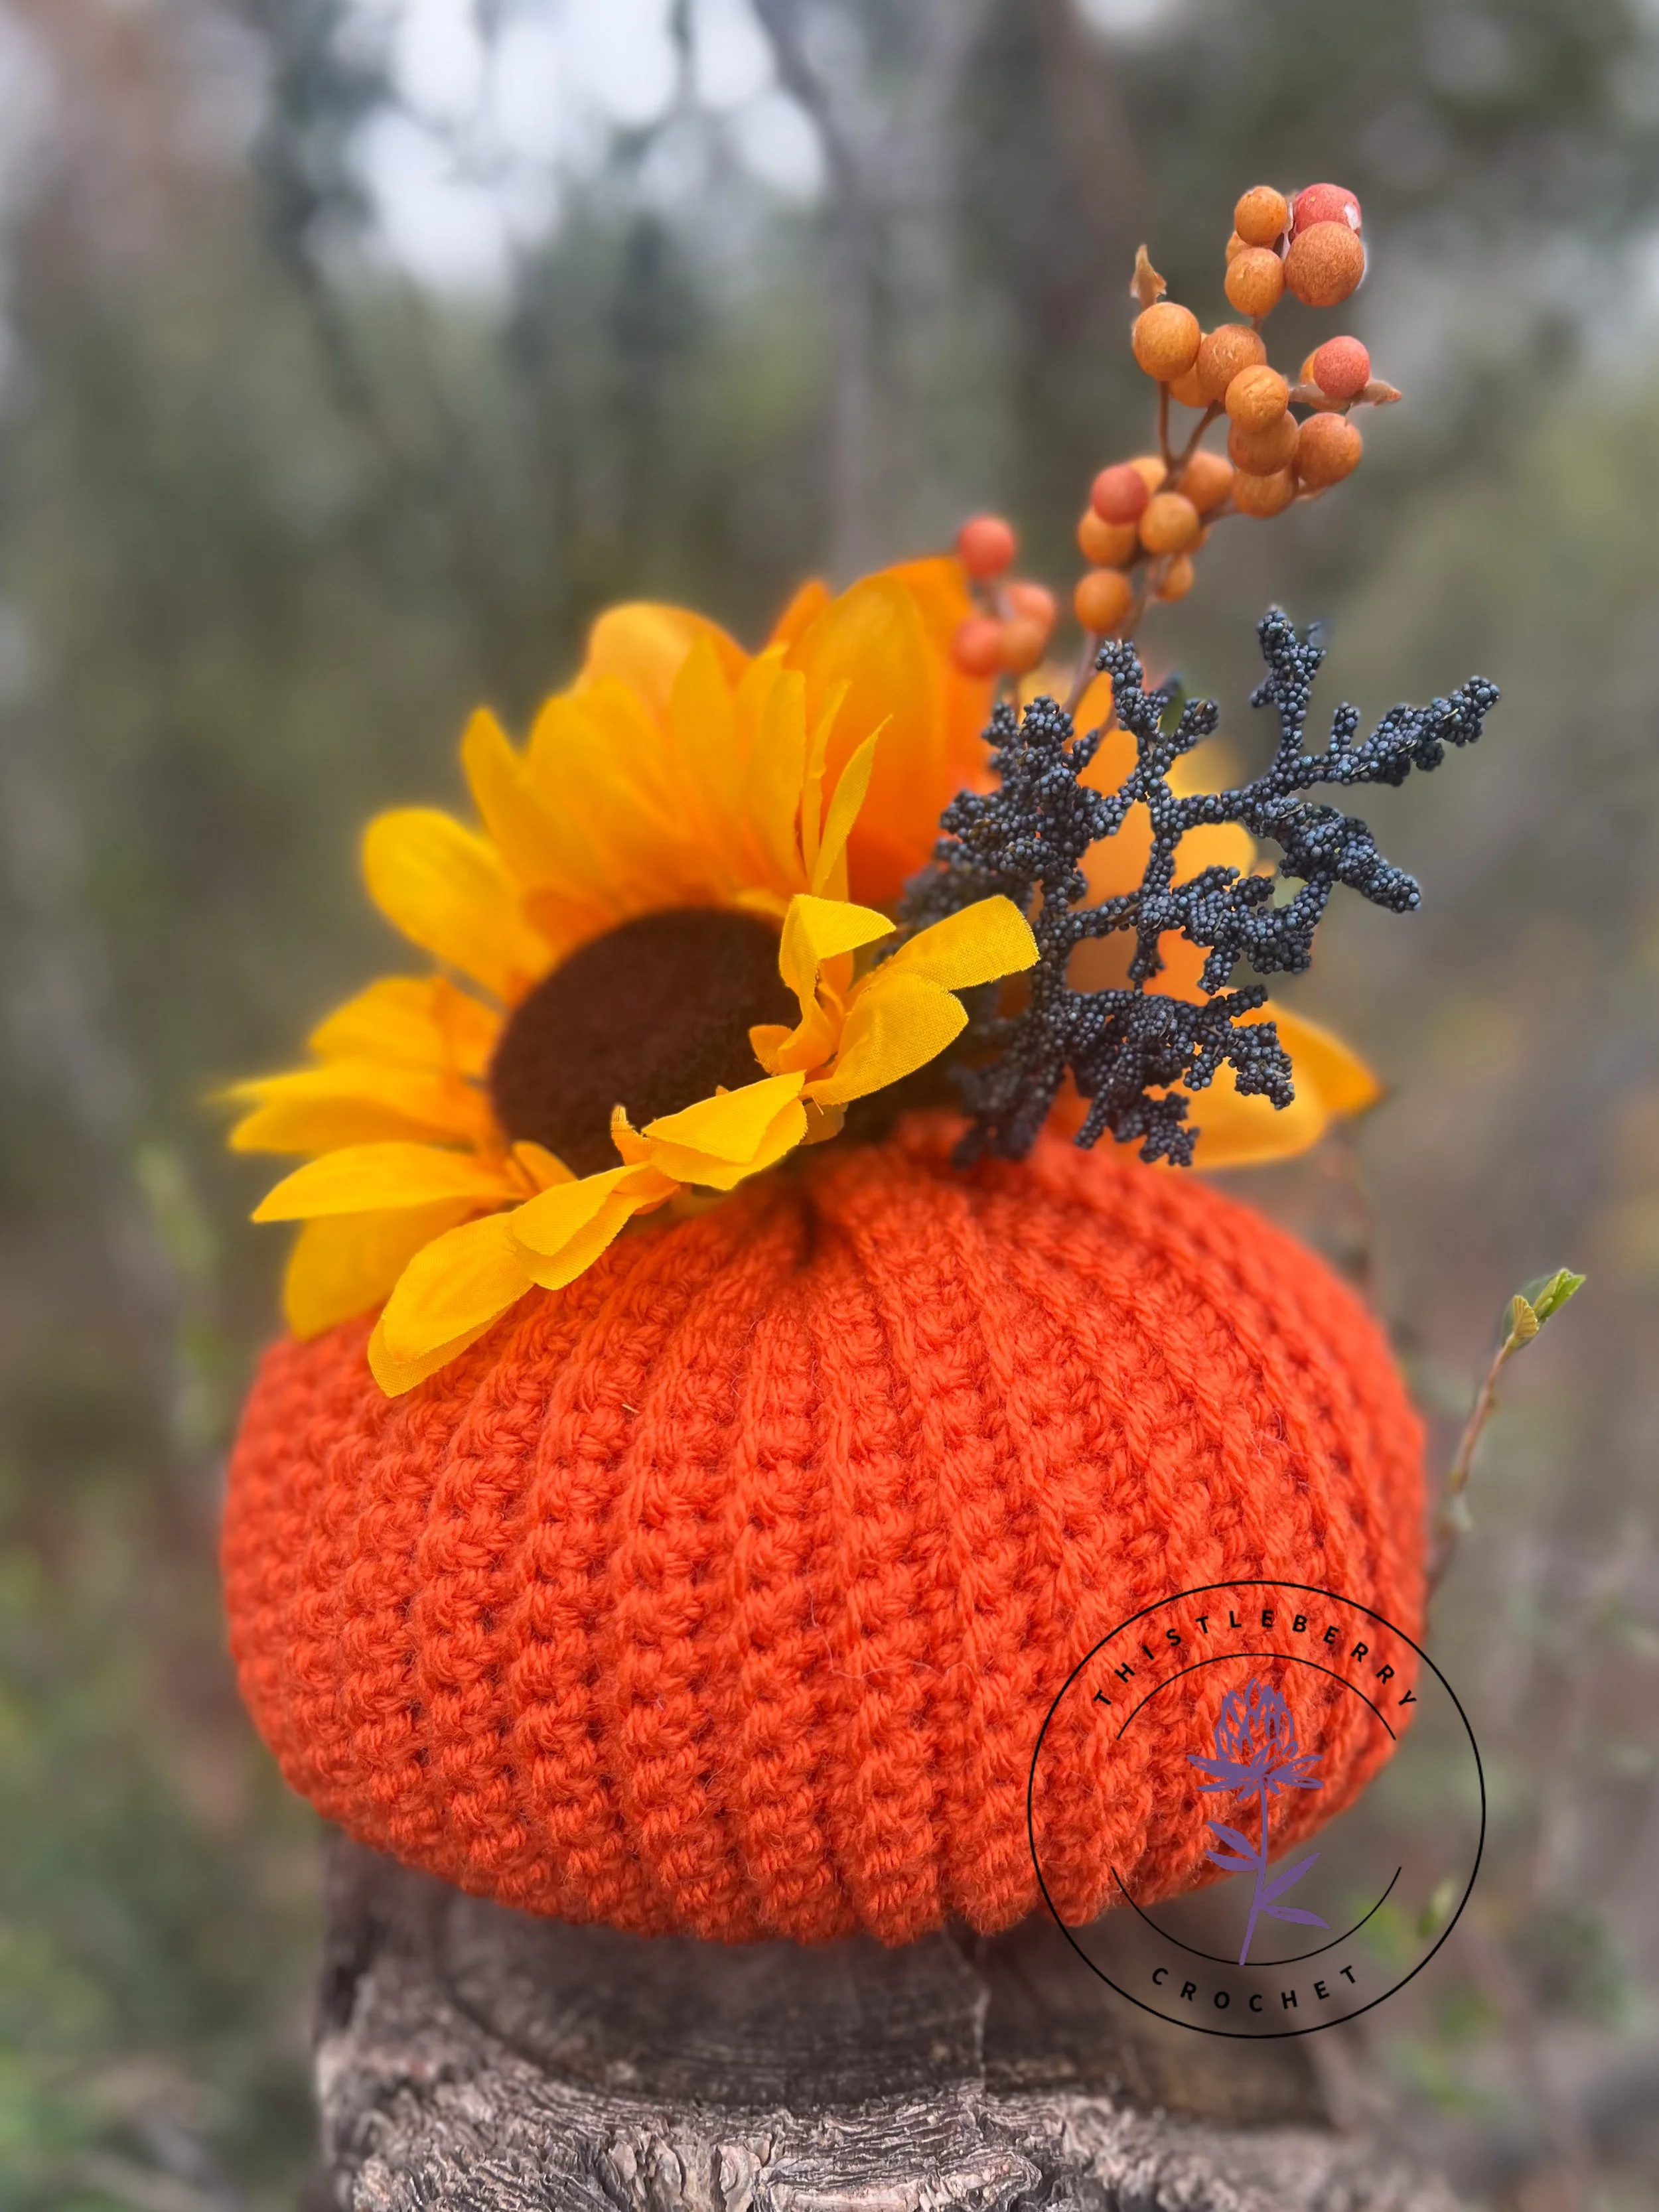
Instead of a stem, we’ll finish off our pumpkin with fake flowers, a small branch, a pinecone,
cinnamon sticks - whatever you think would like nice!
Yarn Alternatives/Substitutes:
Any other medium/4 weight yarn should be just lovely for this project!
Pattern Instructions (using US stitch terms):
Pattern Abbreviations:
sc = Single Crochet
sc blo = Single crochet in the back loop only
Chain 31 (add more or less chains if using a different yarn/hook, so that your rectangular panel is 8” wide)
Row 1: Sc in 2nd chain from hook, and in each chain across to the end of the row.
Rows 2 - 80: Chain 1, turn. Sc blo in the 1st stitch of the row, and in each stitch across to the end of the row. (Note: You may want to measure your panel as you go. You’ll want to stop when your panel is 16.5” long)
Next Steps:
Join your short/width edges together with a slip stitch in each stitch (I chose to do mine in the blo again)
Turn your project “inside right”, so that your yarn tail is on the inside, and weave in and out along one end of your project, so that you can cinch it closed. After cinching it closed, weave across the opening remaining to close off the hole and create the bottom of the pumpkin.
Stuff your pumpkin with Poly-fil, or whatever other pumpkin stuffin’ you’d like to use.
Weave in and out along the top edge of your pumpkin, so that it can be cinched closed again. This time leave a small opening at the top, and weave in your ends around that edge to secure your yarn and give the edge a bit of reinforcement.
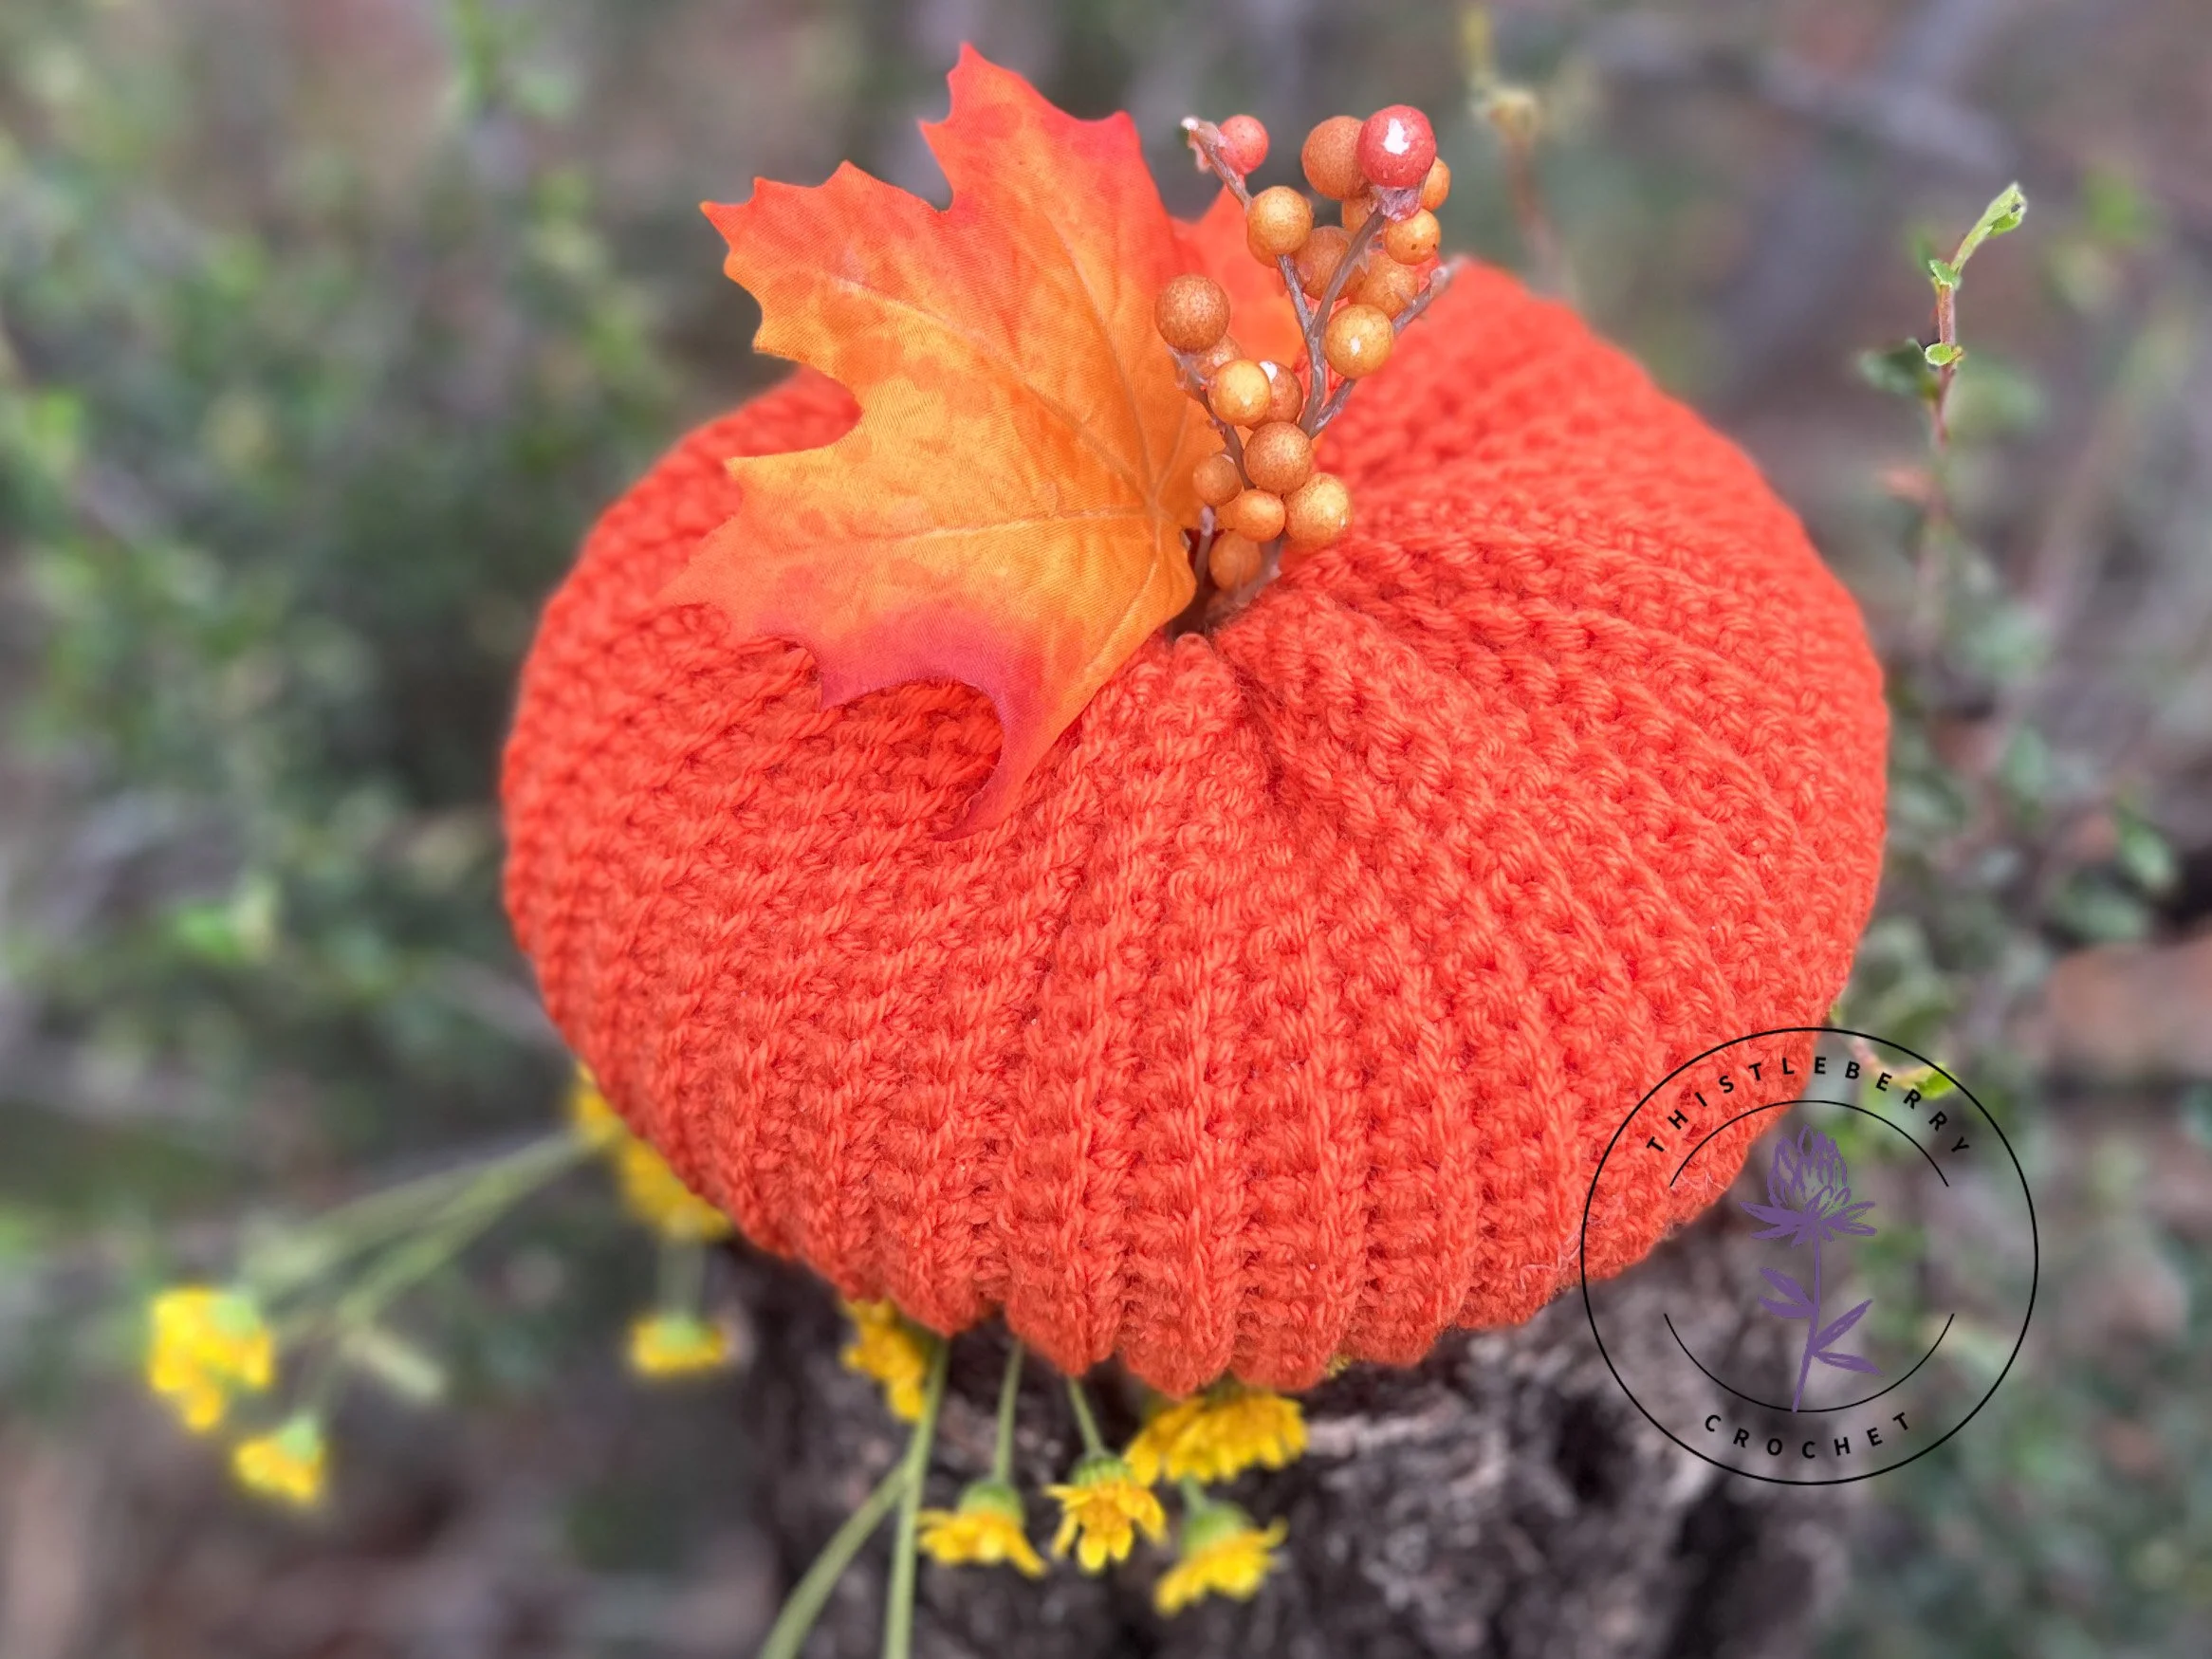
Add whatever “topping” you’d like to finish off your pumpkin!