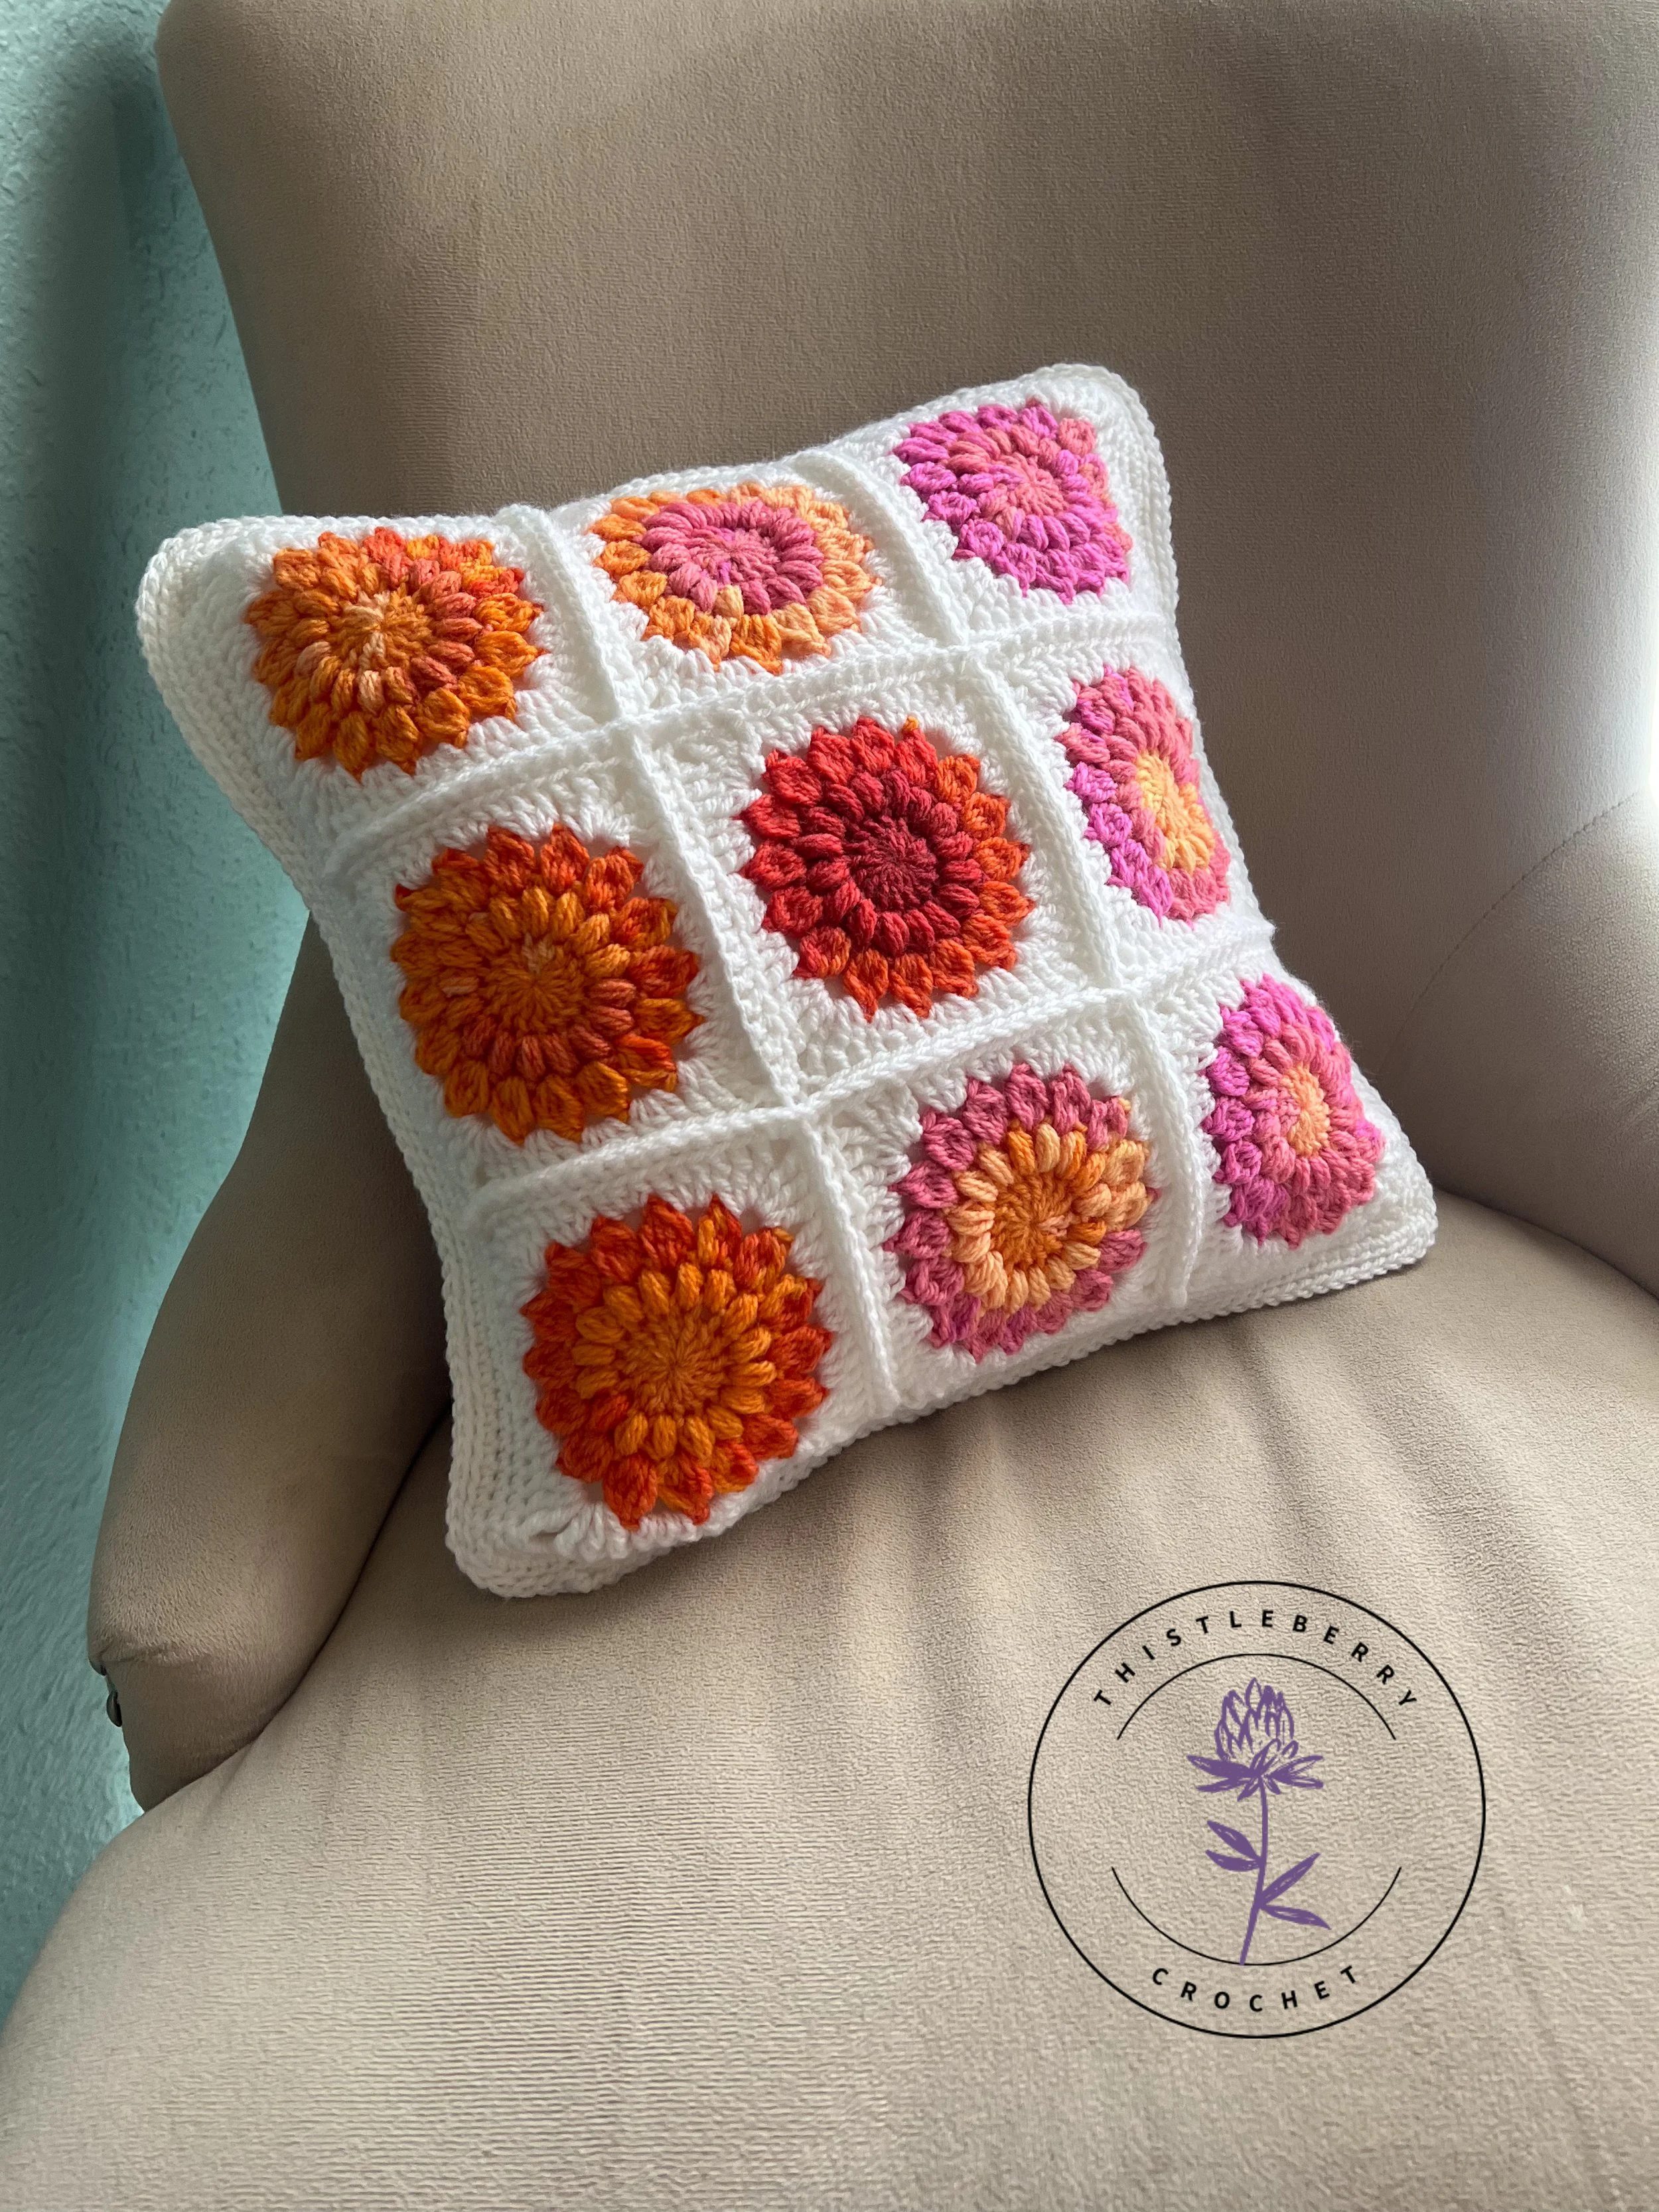
Sunburst Granny Square Pillow
Skill Level: Beginner+
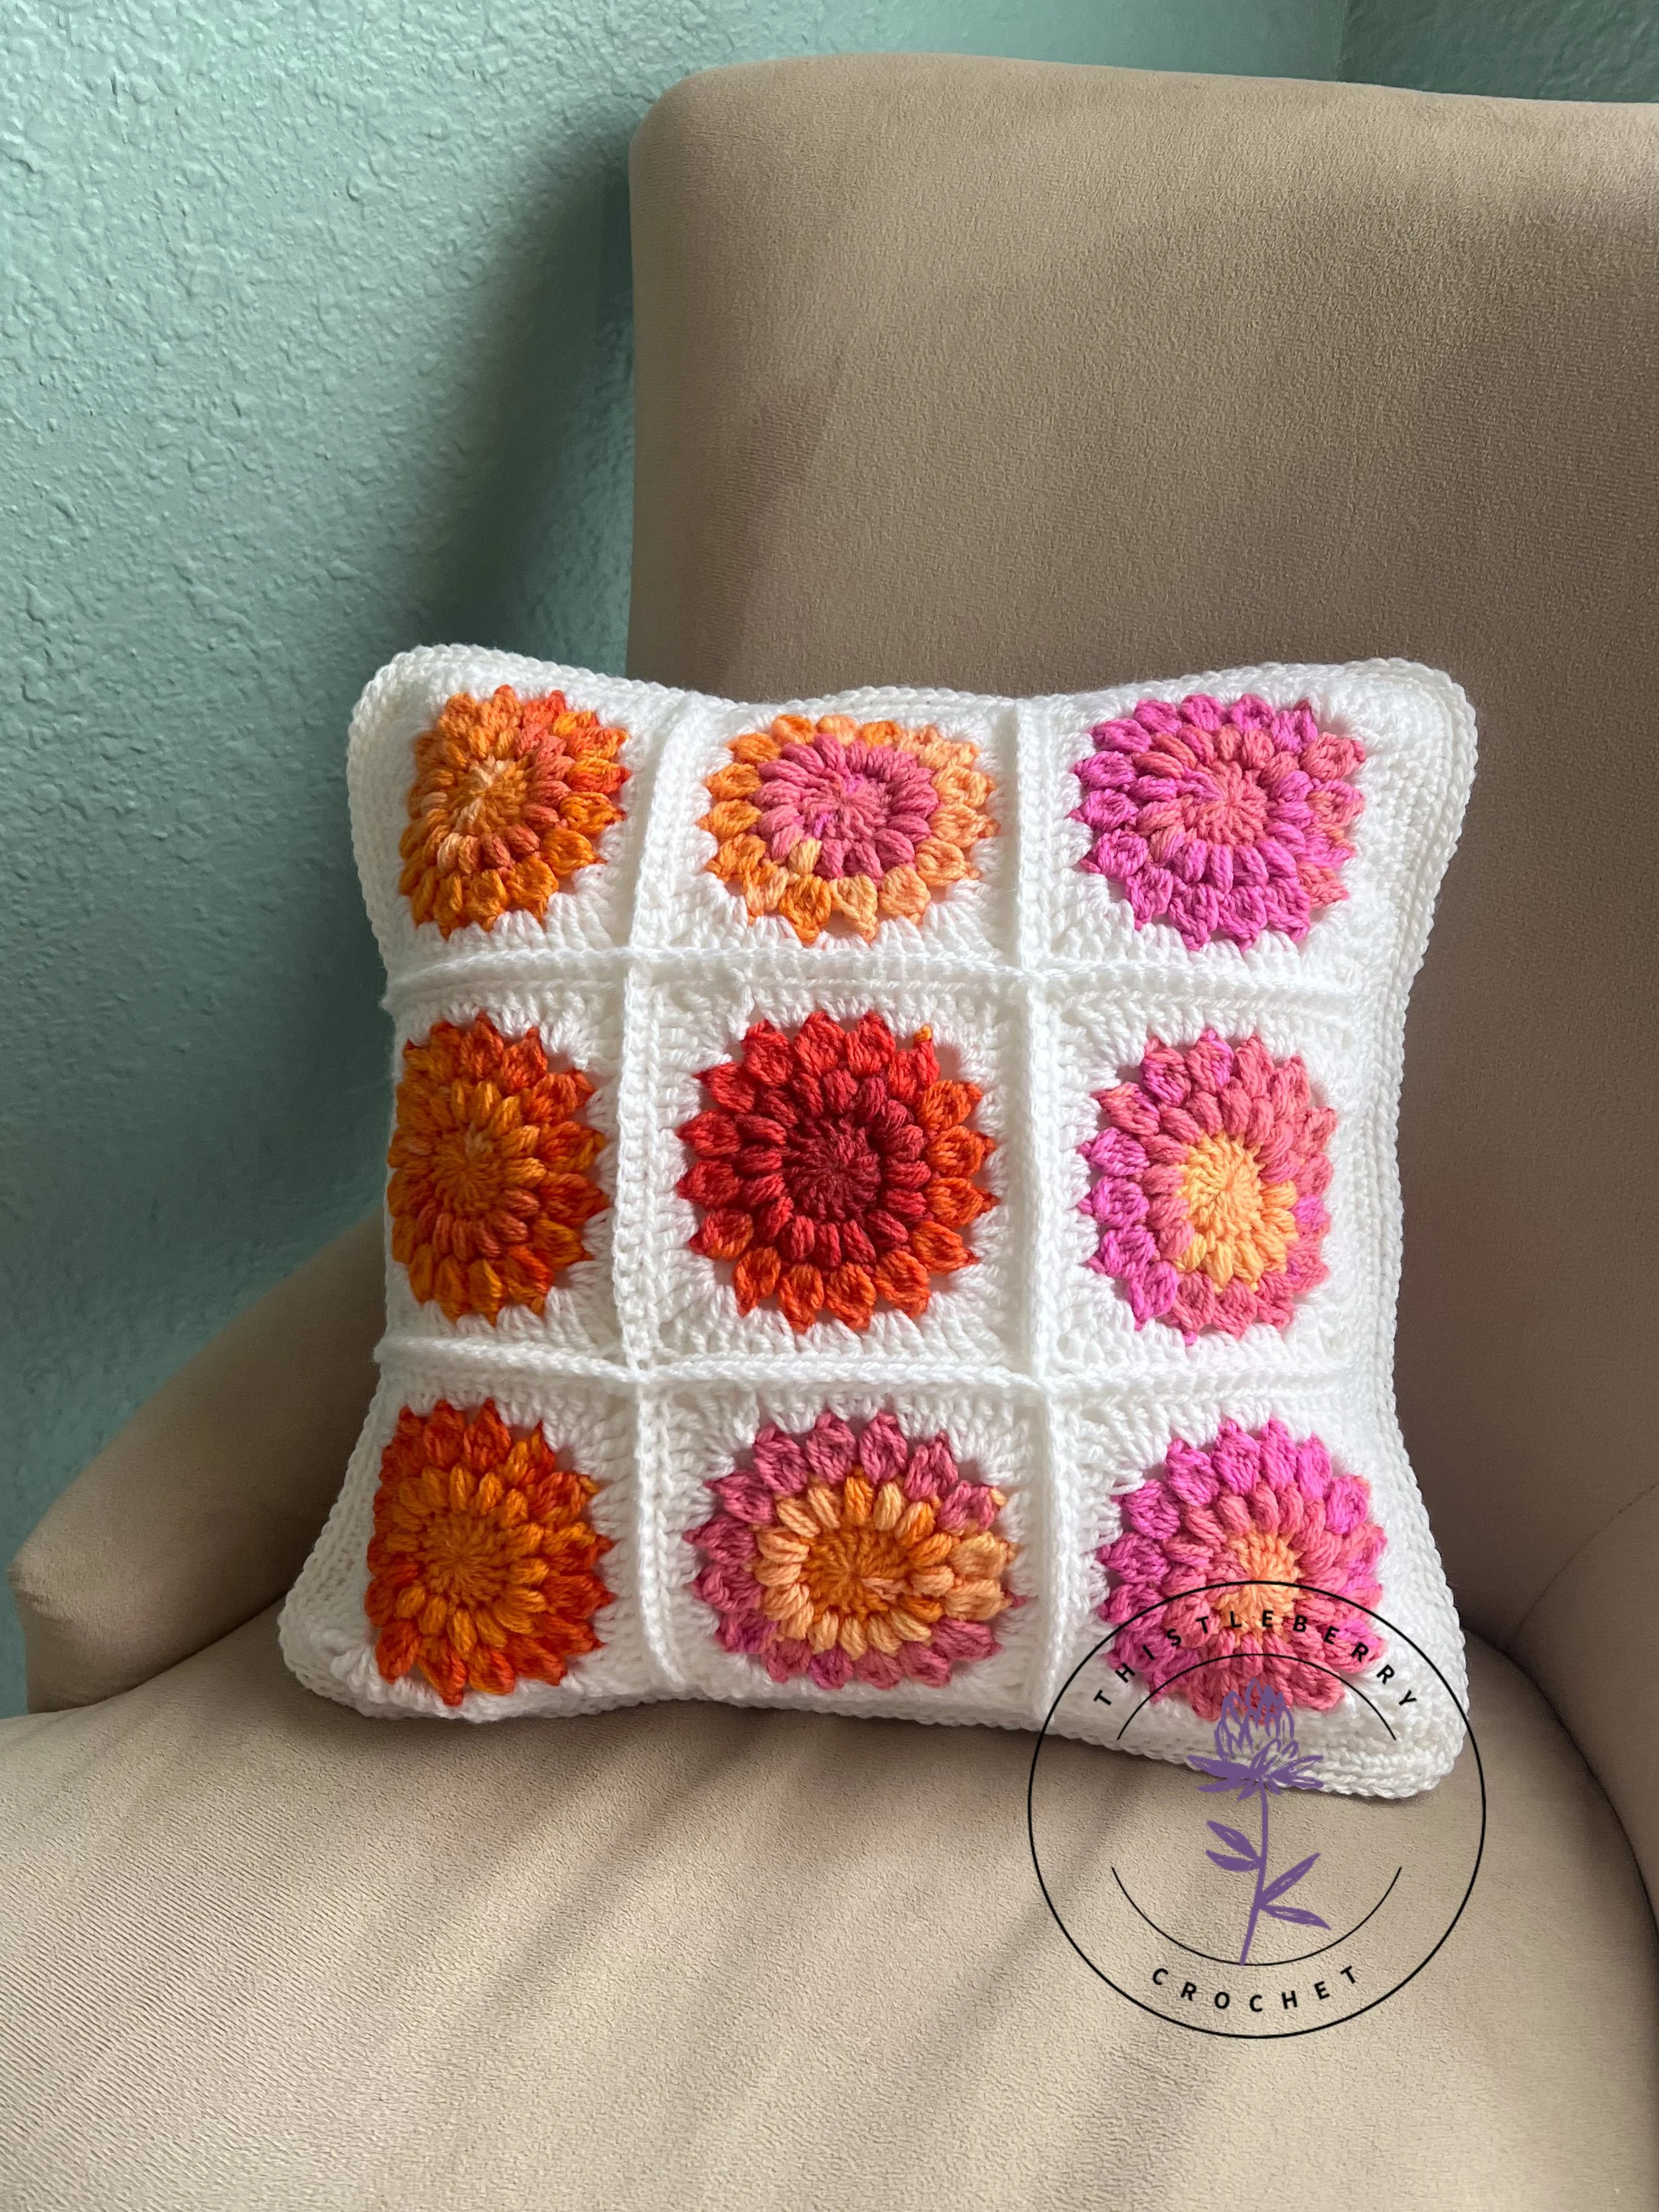
This Sunburst Granny Square Pillow is (honestly) one of my favorite projects to crochet! I find every step of the process incredibly satisfying. I used a variegated yarn for the centers of my squares, and used the same solid color to finish off my squares, join and create a border for the panels of my pillow. Have fun trying different colors to make this project something you’ll love!
This pillow cover is stitched closed, encasing the pillow form. With that in mind, I chose a pillow form and yarn that was machine washable for my project. Maybe someday when my little boys aren’t so little, I won’t be so worried about stains and dirt. Maybe.
Below you’ll find the written instructions for this pattern, as well as a link to my tutorial video to help you along the way.
Also - if you’d prefer a PDF of this pattern, you can purchase one from my Etsy shop.
I hope you enjoy creating your own beautiful pillow! Happy hooking!
KEEP SCROLLING FOR A LINK TO THE YOUTUBE VIDEO TUTORIAL
How We Make A Pillow | An Overview
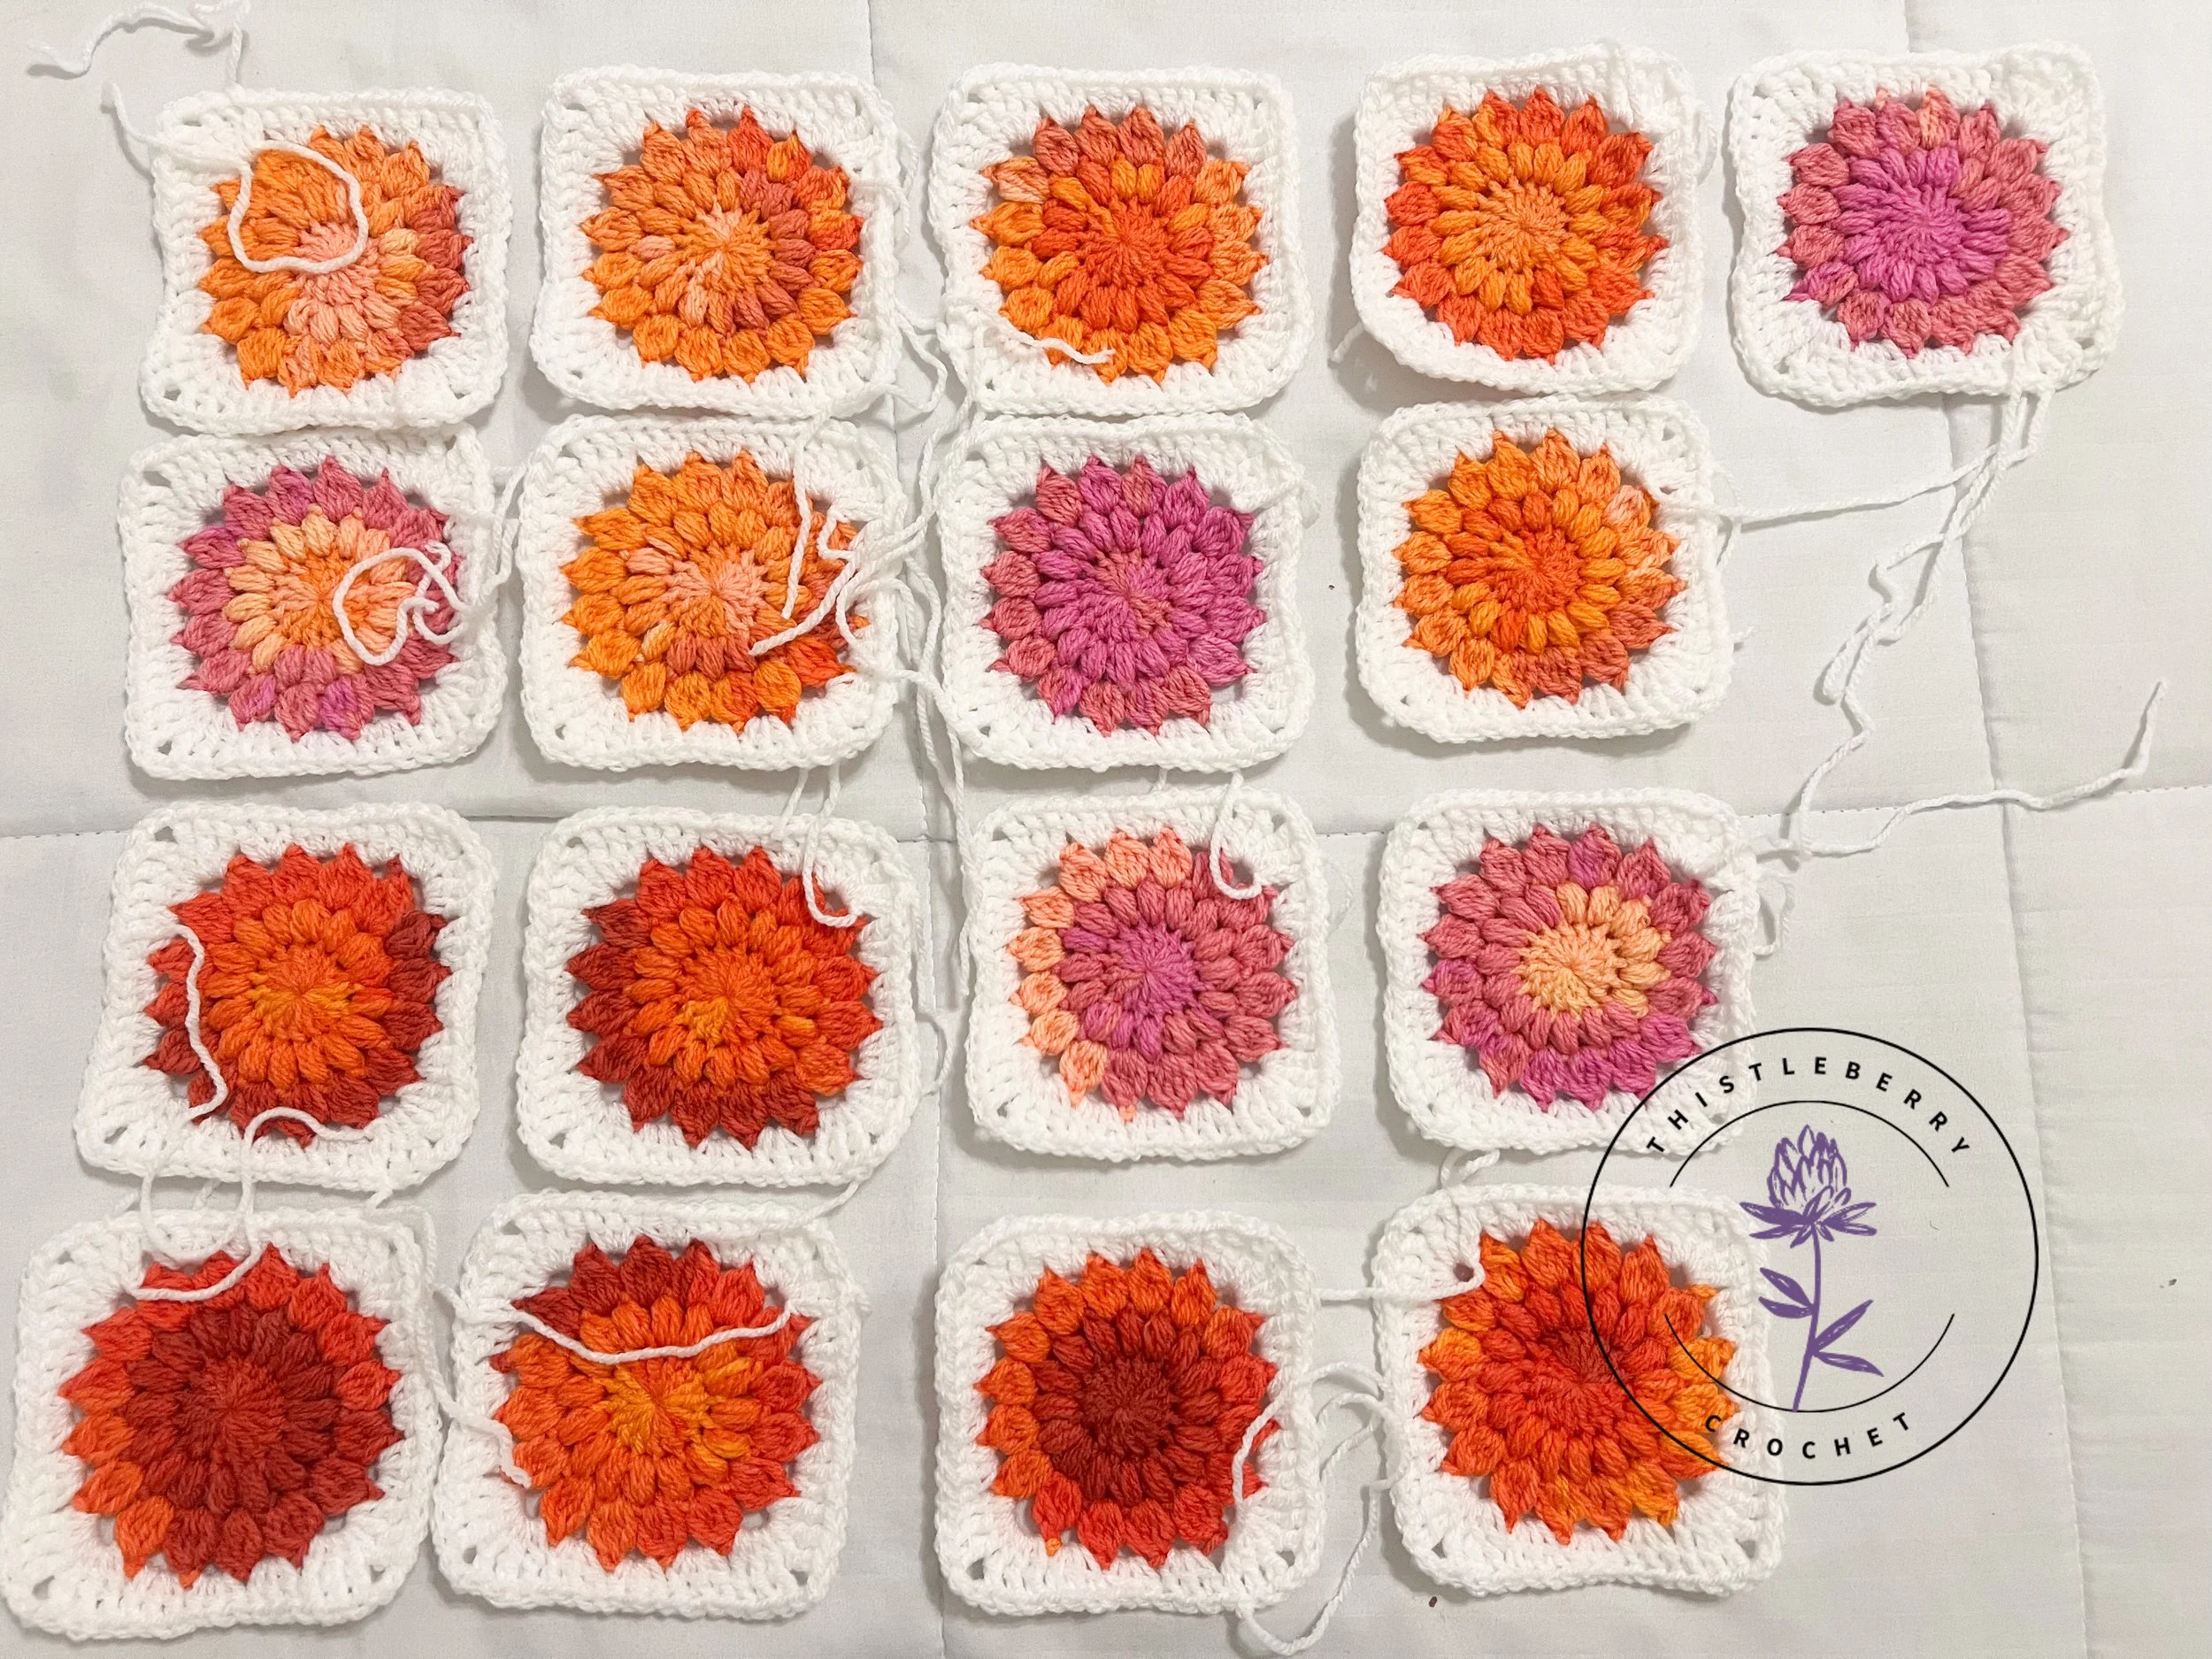
You’ll start by crocheting 18 Sunburst Granny Squares, 9 for each side of your pillow. Then we’ll join each set of 9 square together to form a larger square - the panels for our pillow. Finally, we’ll add a border around each panel to help things to fit perfectly before joining those panels together around our pillow form.
Sunburst Granny Square Pillow
Supply List:
Yarn:
1 ball (approximately 205 yards) of Hayfield Spirit DK (pictured in Passion/0432)
2 balls (approximately 350 yards) of Hayfield Bonus DK (pictured in Cream)
Hook: G / 4mm (you can buy find my favorite I hook here)
12” Pillow Form
I purchased mine in a 2-pack from Amazon - you can view what I used here
Yarn Alternatives/Substitutes:
Other yarns that work well for this project include:
Premier Yarns Colorfusion DK (if you like the look of the color-changing centers), with Premier Anti-Pilling DK for the solid color
For a soft pillow with solid colors, you may like Mary Maxim’s Mellowspun DK or Scheepjes Colour Crafter!
Dimensions:
Finished Pillow: 12” x 12'“
Pattern Instructions (using US stitch terms):
Pattern Abbreviations:
R = Round
MR = Magic Ring
ch(s) = Chain(s)
st(s) = Stitch(es)
sk = Skip
sp = Space
dc = Double Crochet
hdc = Half Double Crochet
tr = Treble Crochet
dc4tog = DC 4 Together
Instructions for Special Stitches:
Puff Stitch: Yarn over, insert hook where indicated in pattern, yarn over again, and pull up a loop. Repeat 2 more times, until there are 7 loops on your hook. Yarn over, and pull through all 7 loops.
dc4tog (double crochet 4 together): Yarn over, insert hook where indicated in pattern, yarn over again and pull up a loop. Yarn over, and pull through just the first two loops on the hook. Repeat 3 more times, until you have four dc stitches and 5 loops on your hook. Yarn over again, and pull through all 5 loops.
Create a total of 18 Sunburst Granny Squares in the following way:
R1: Into MR: Ch 2 (counts as dc), 15 dc. End round with slip st into 1st full dc st made in this round (skipping over the initial ch 2). [16 dc]
R2: Ch 1. Work a puff st and ch 1 into same stitch where you just worked the slip st. Work a puff st and ch 1 into next st. Repeat bold instructions to end of round. End round by slip st in the ch 1 sp between the first and second puffs of the round. [16 puff stitches]
R3: Ch 1. In same ch 1 sp where you just worked a slip st, dc4tog and ch 2. In next ch 1 sp, work dc4tog and ch 2. Repeat the bold instructions to end of round. End round with slip st in the ch 2 sp between the first and second dc4tog clusters of the round. Fasten off. [16 dc4tog clusters]
Change to white yearn. Attach with a slip st in any ch 2 sp from the previous round.
R4 (in white): Ch 3 (counts as tr) and work 2 tr, ch 2, 3 tr in the same sp where you attached your yarn. This will be your first corner of your square. Sk to next ch-2 sp, work 3 dc. Sk to next ch-2 sp, work 3 hdc. Sk to next ch-2 sp, work 3 dc. Sk to next ch-2 sp, work 3 tr, ch 2, 3 tr for your next corner.
Repeat the bold instructions until you’ve reached your starting corner (the last space worked will be 3 dc sts). To end the round, slip st to the top of your starting ch 3. Fasten off, weave in ends.
Panel & Pillow Assembly:
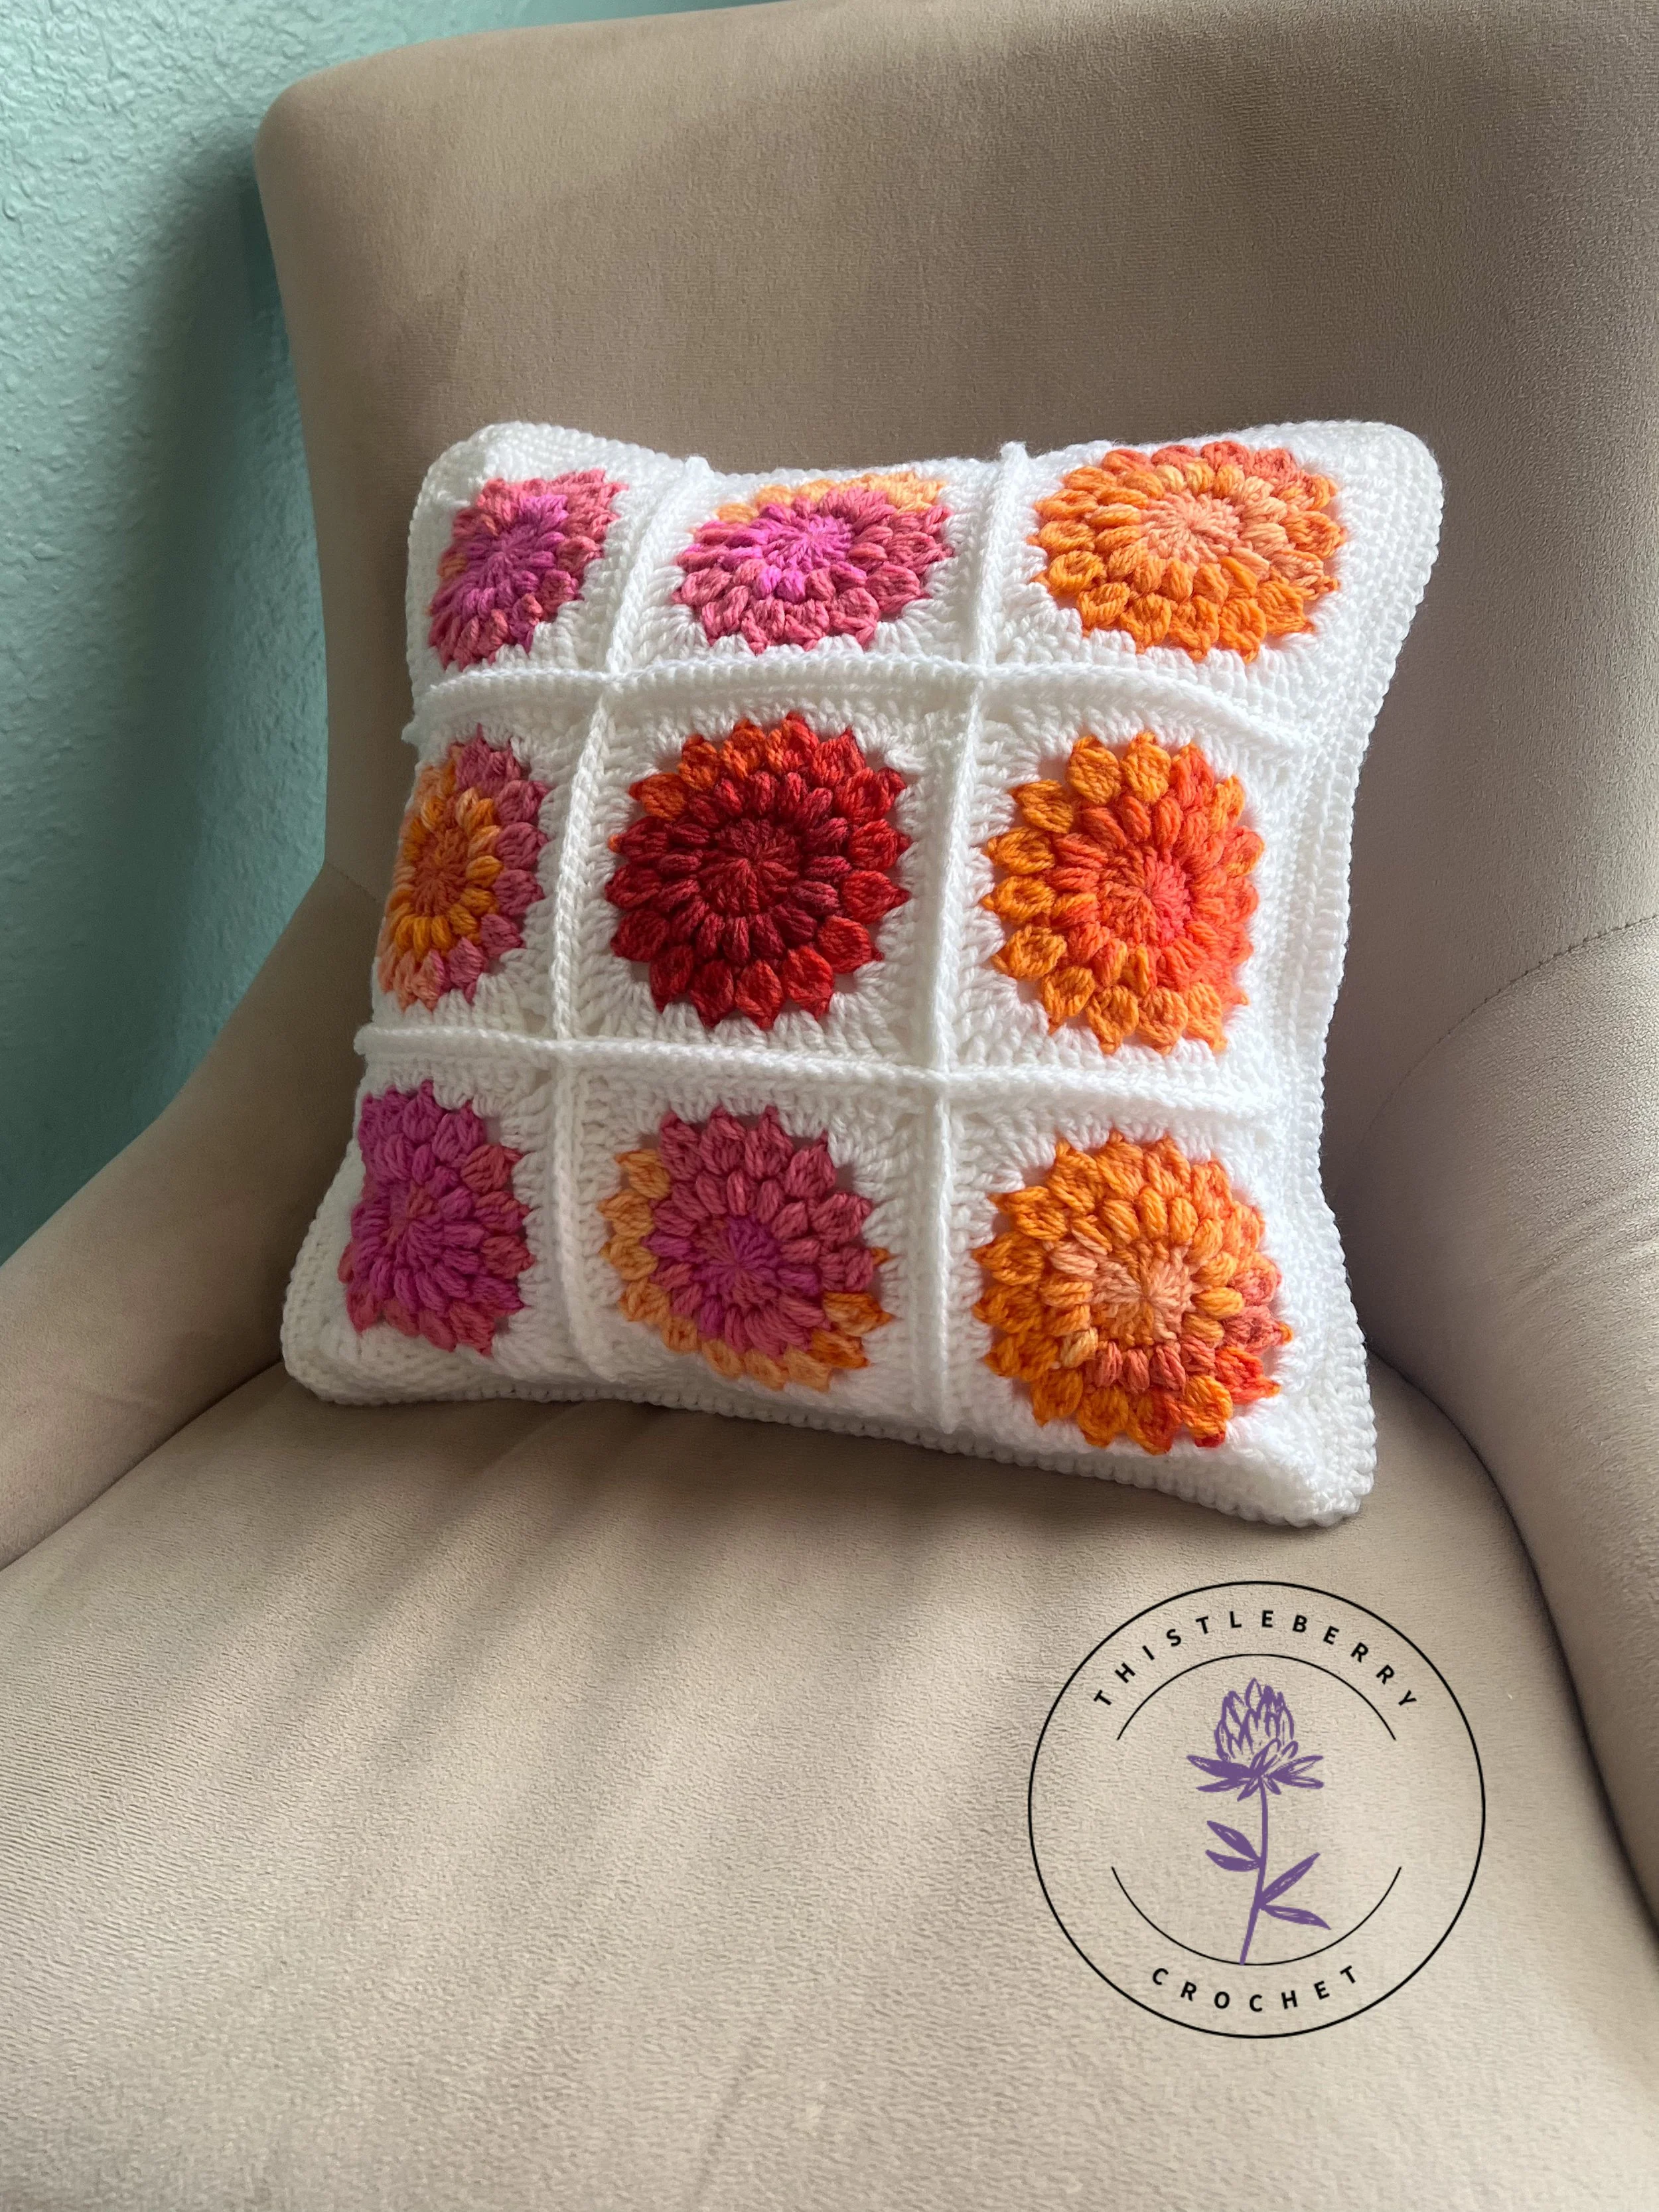
Arrange your Sunburst Granny Square panels by creating three rows of three squares for each panel. Join your squares by placing two squares wrong sides together (right sides facing out), lining the stitches up so that they match, and working a single crochet row along the joining edge. Instead of working through all four loops (two from each panel), work through the two loops closest together (the back loops of each square). Continue on in this way until all of your rows are connected, either vertically or horizontally, and then complete the joins in the opposite direction using the same method.
Once the squares are joined and the panels are complete, add rows of single crochet as a border around the edge so that they properly fit your particular pillow. For my 12" pillow forms I added three rows of single crochet to each panel. I single crocheted in each border stitch to join except for in the corners, where I did three single crochets into the corner stitch.
Join the panels together as you did the individual granny squares - place them wrong sides together, line up the stitches, and work a row of single crochet along the edge, using the two innermost loops to join. Once you have two sides stitched together, insert your pillow and continue working until your pillow is enclosed.
For help with this or any of the steps in this pattern, check out the tutorial video!