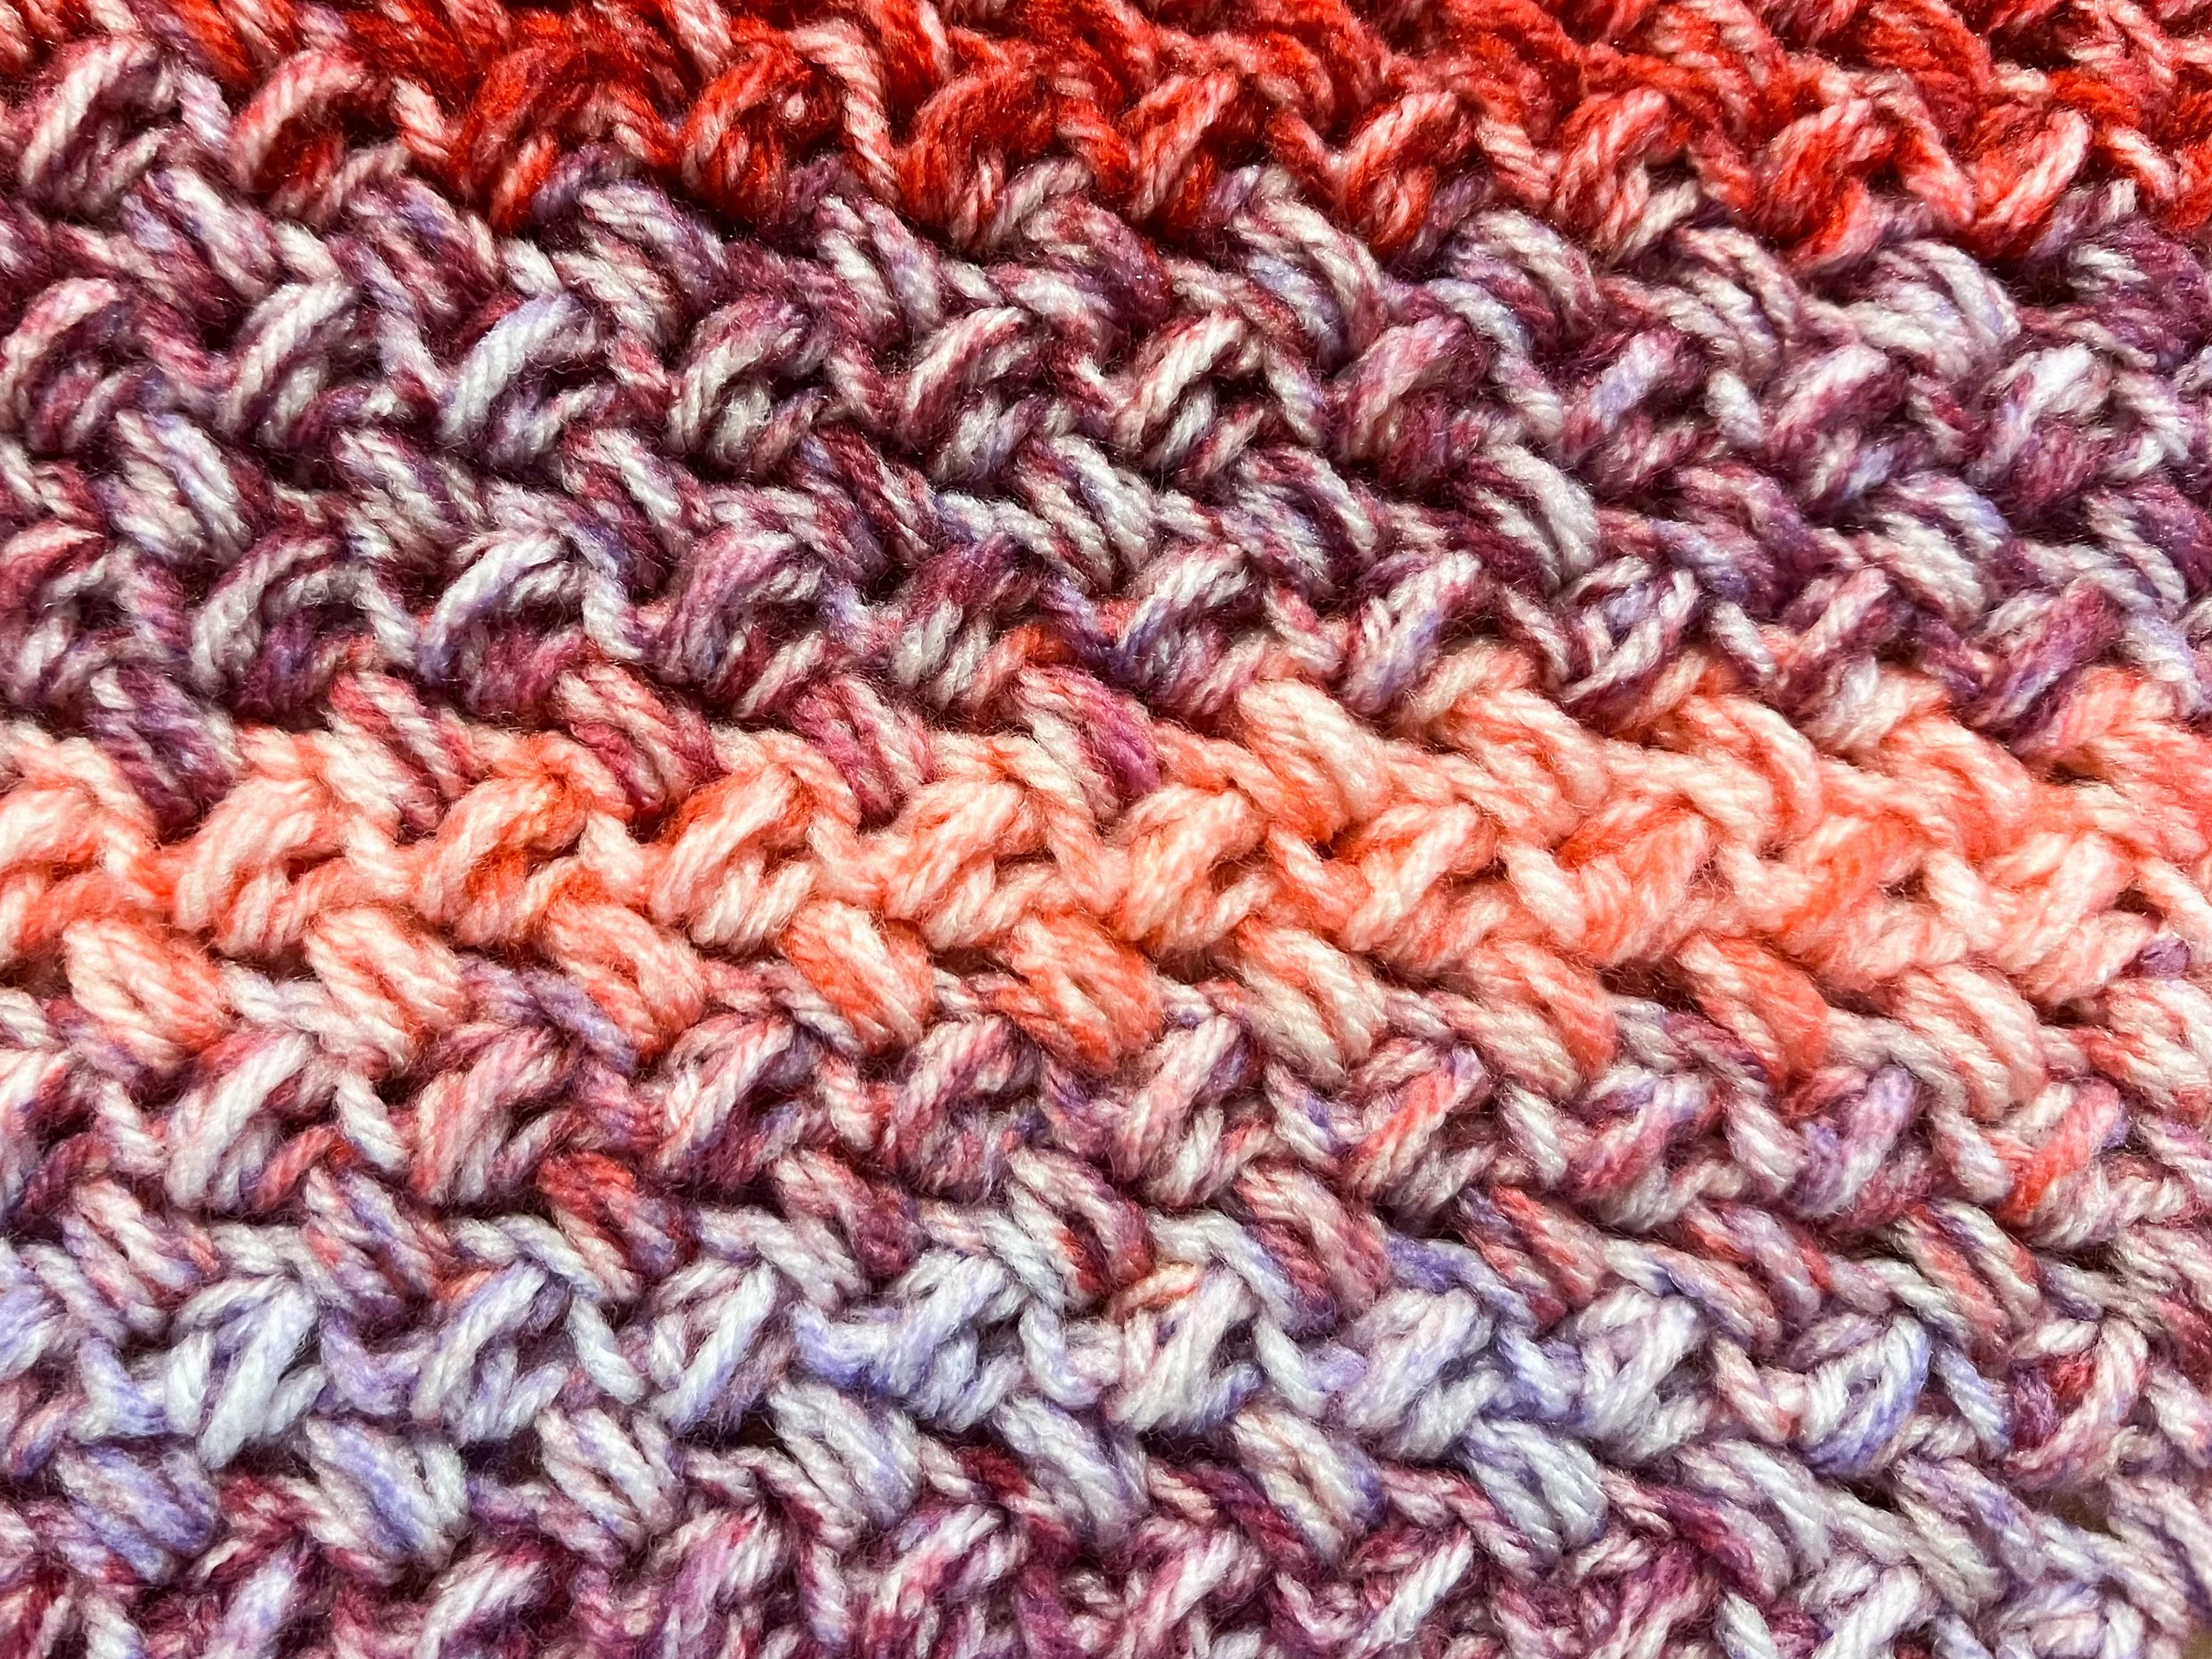
The Mini Bean / Elizabeth Stitch
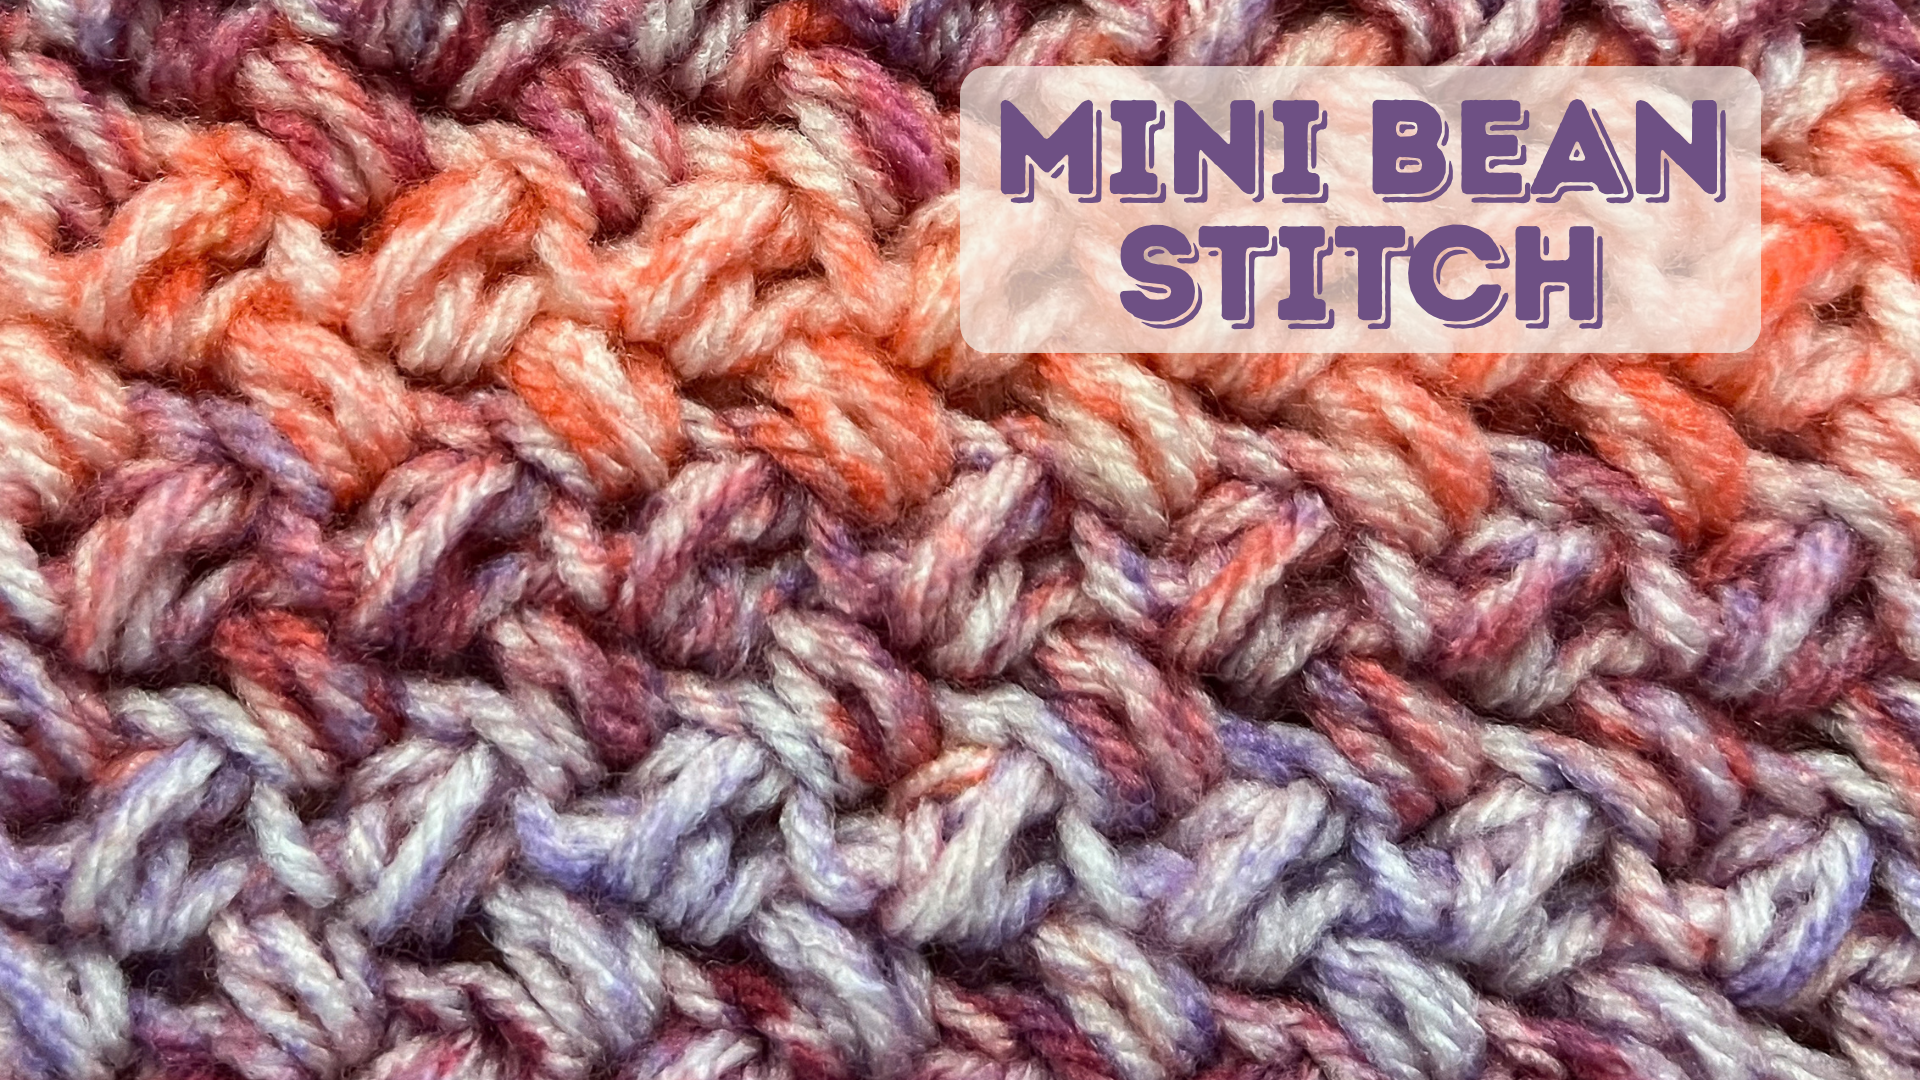
I crocheted this swatch using Red Heart’s Bitty Stripes yarn in the color Pink Lemonade, with a 6mm hook.
I love the Mini Bean Stitch! Also called the “Elizabeth Stitch”, this one is really fun to work up! Once you get the groove of the stitch, it really feels like you’re weaving your crochet hook in and out of the yarn like a little magic wand, and it just…feels fun!
I love the texture and thickness of this stitch, as well as the fact that it creates a reversible fabric! It’s squishy without being heavy or too dense, and still has great drape! I can confidently predict that there will be a Mini Bean throw blanket in my near future.
Below you’ll find the written instructions to crochet your own gorgeous little masterpiece. If you need help along the way, I’ve linked a YouTube tutorial video that you can follow along with!
How To Crochet The Mini Bean / Elizabeth Stitch:
Create a foundation chain of any length you desire, in a multiple of 2 + 1.
Special Stitch Instructions: Mini Bean
Here are the steps to complete a Mini Bean stitch: Insert hook, yarn over and pull through, pulling up a loop. There will be two loops on your hook. Yarn over again, insert hook, yarn over and pull through, pulling up a loop. There will now be four loops on your hook. Yarn over, pull through all four loops on your hook, and chain one. (Note: The “chain one” is considered to be part of the Mini Bean stitch).
Row 1: Work a Mini Bean stitch in the 3rd chain from your hook. Skip one chain, and work a Mini Bean stitch in the next. Continue in this way to the end of your row, skipping one chain and working a Mini Bean stitch in the next chain. Row 1 will end with a Mini Bean in the last stitch. (Don’t forget - the chain one after each Mini Bean is considered to be part of the stitch!)
Row 2. Chain 1, turn. Skip your turning chain AND the chain 1 from the last Mini Bean you crocheted in the previous row, and work a Mini Bean. (When looking at your work, it looks like you are skipping one stitch (the chain 1 from the Mini Bean), and working a Mini Bean into the next. This can seem confusing, since the chain 1 is technically part of the Mini Bean. If it helps, you could think of it as skipping one stitch and working into the next.). Continue across the row, skipping the chain 1 from the Mini Bean in the previous row, and working your Mini Bean stitch into the next part of the Mini Bean from the previous row. Your row will end with a Mini Bean.
Repeat Row 2 until your project has reached the desired length.