Playful Chevron Throw Blanket
Skill Level: Beginner
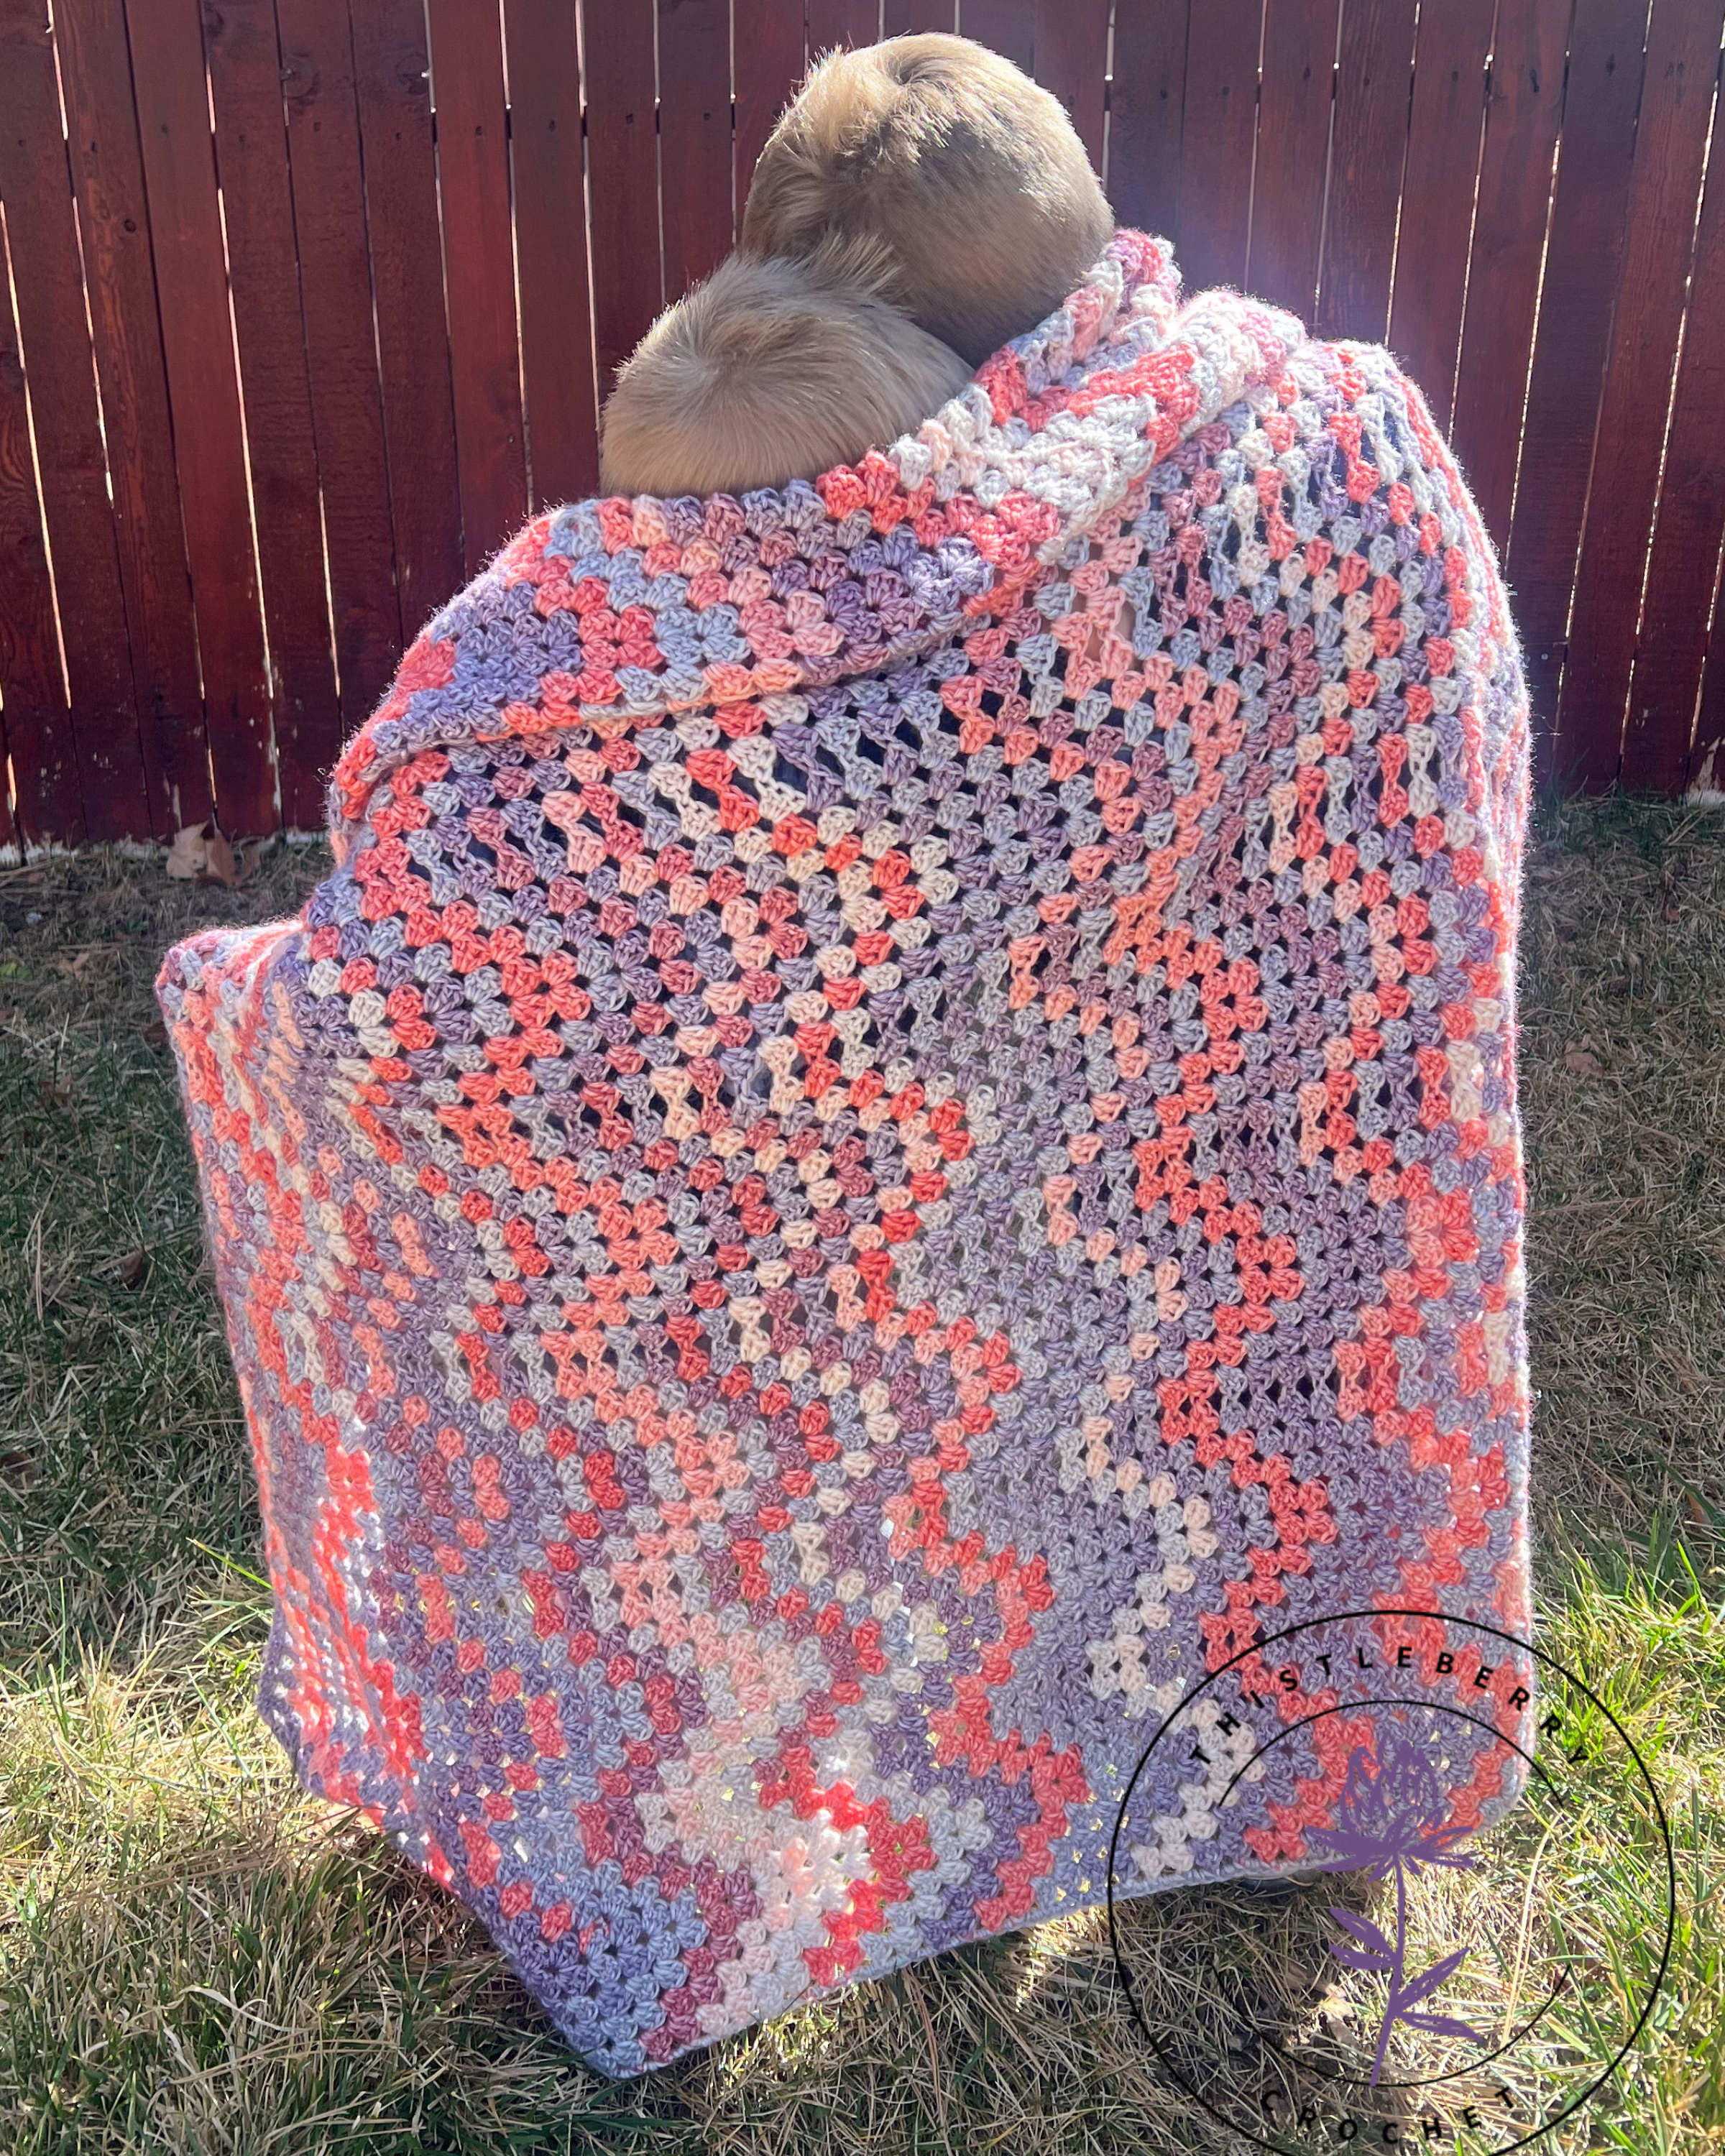
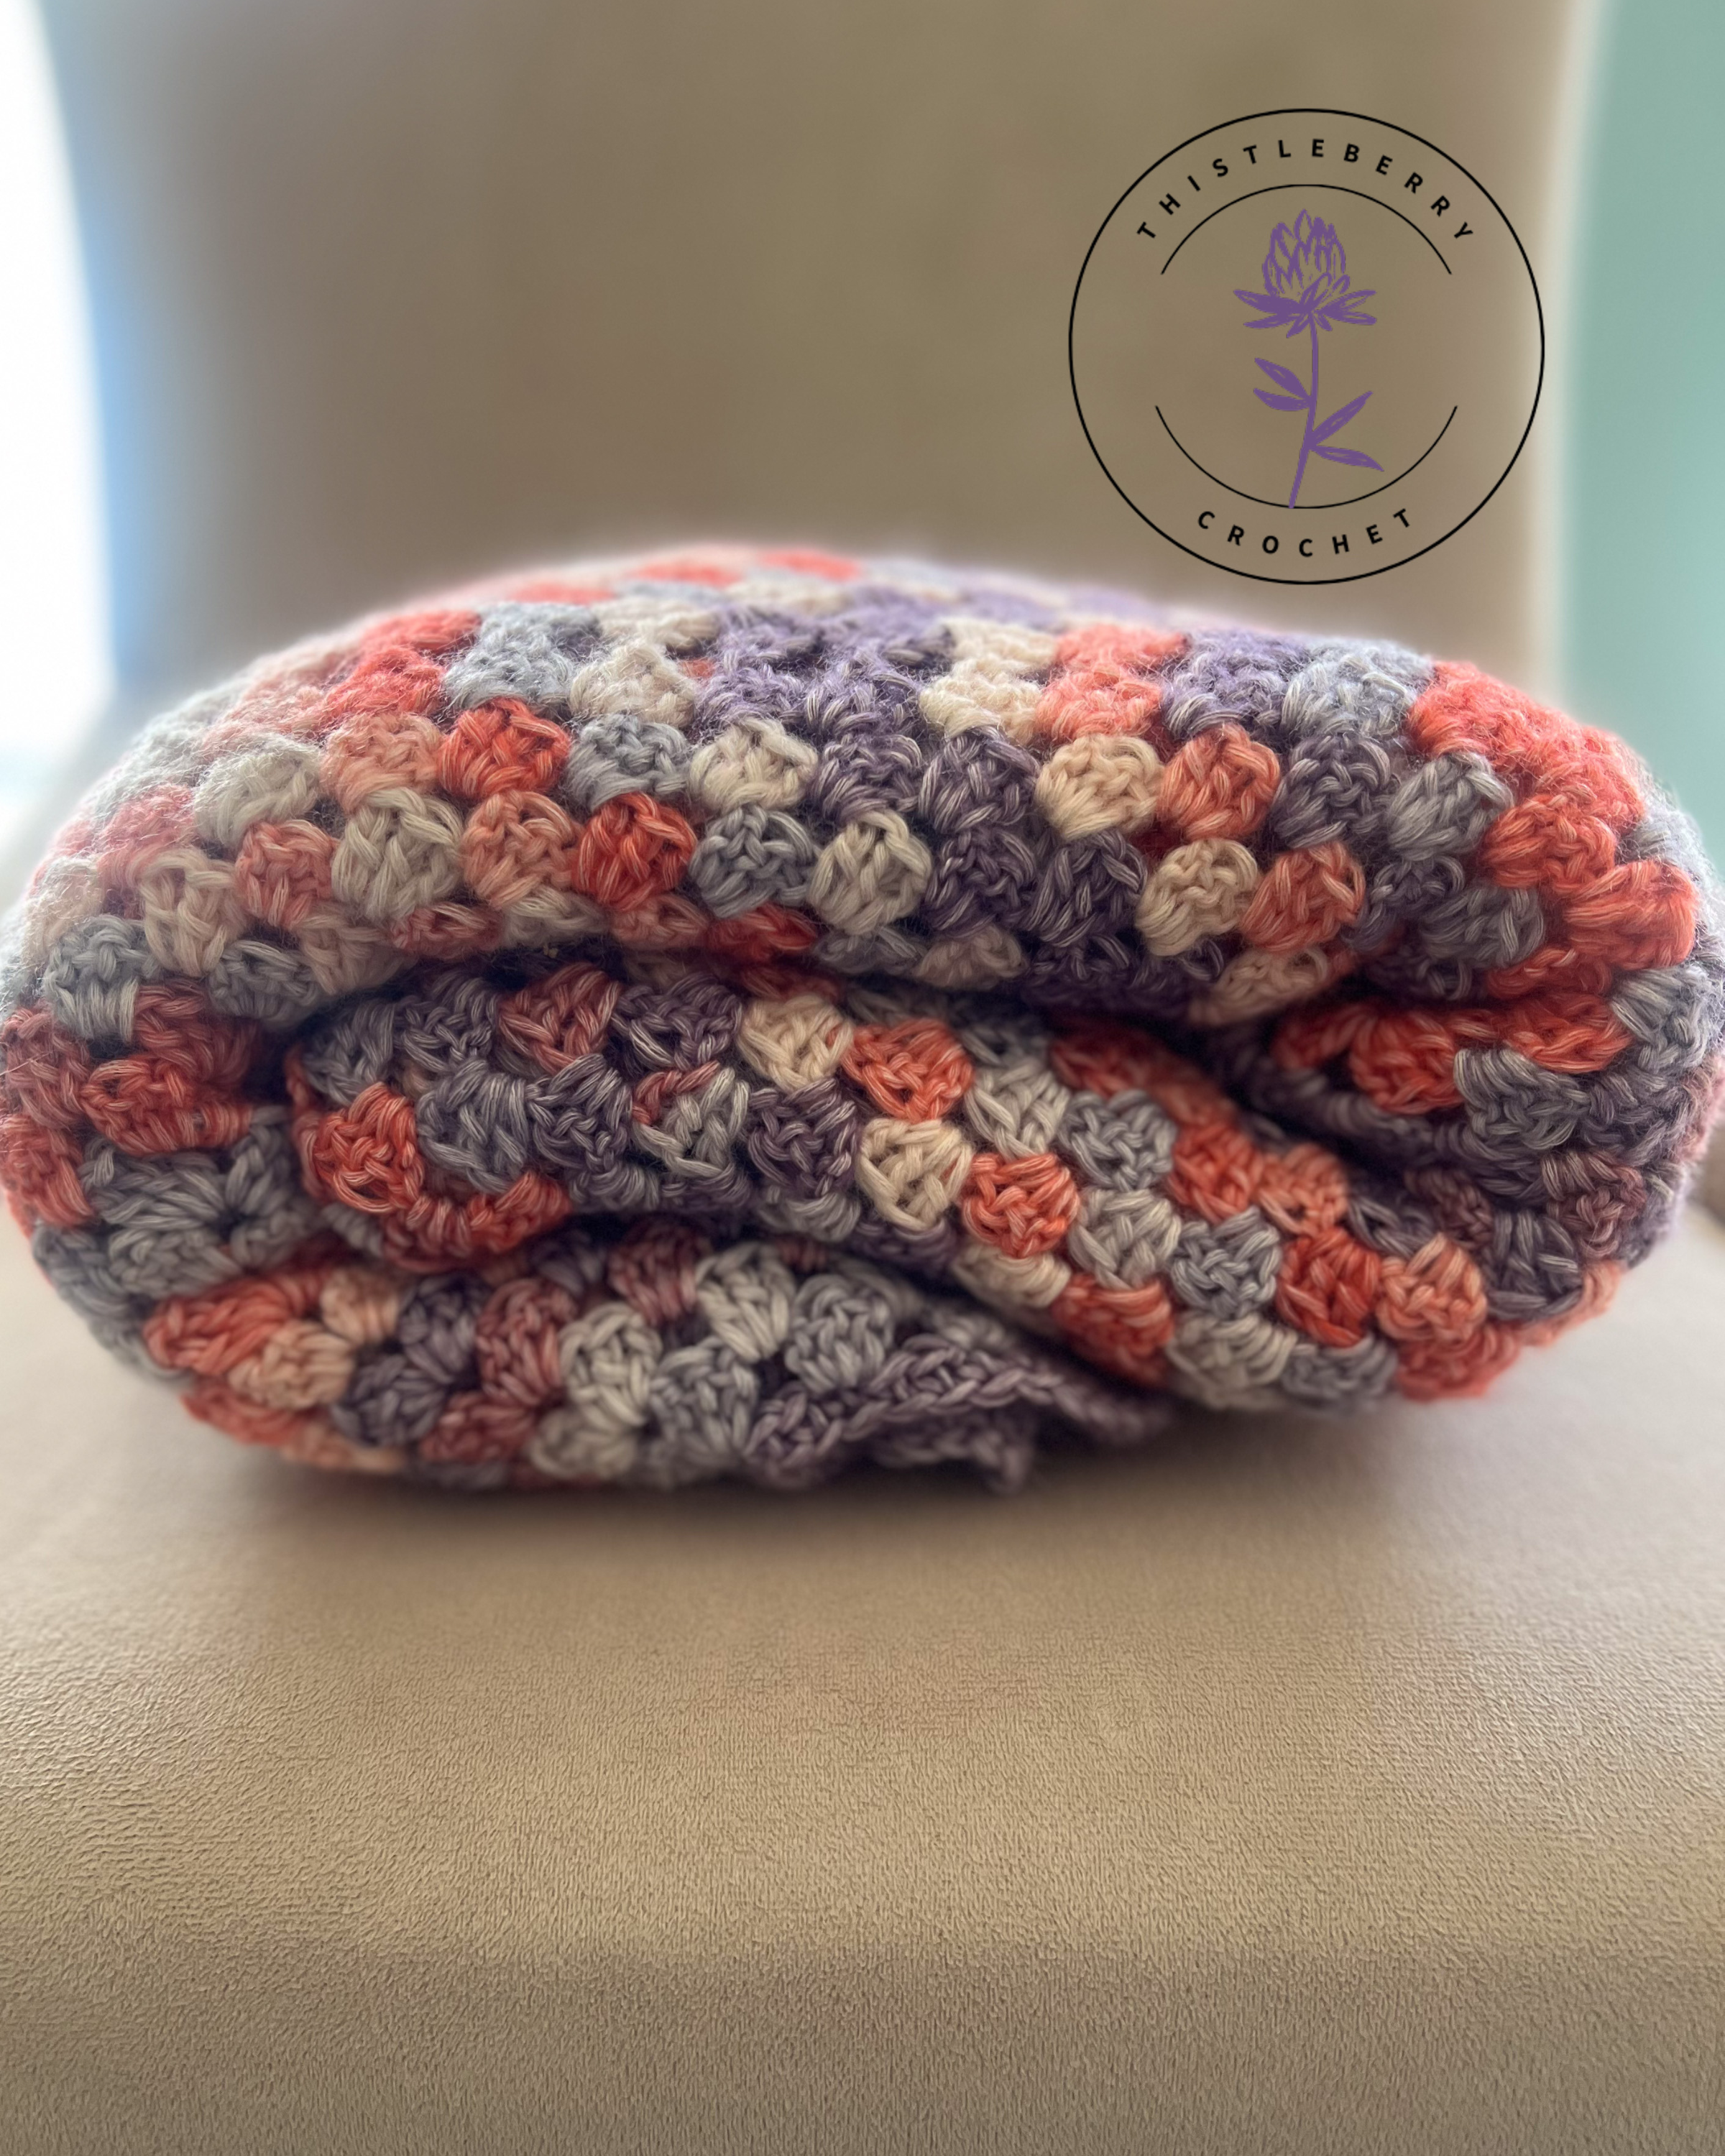
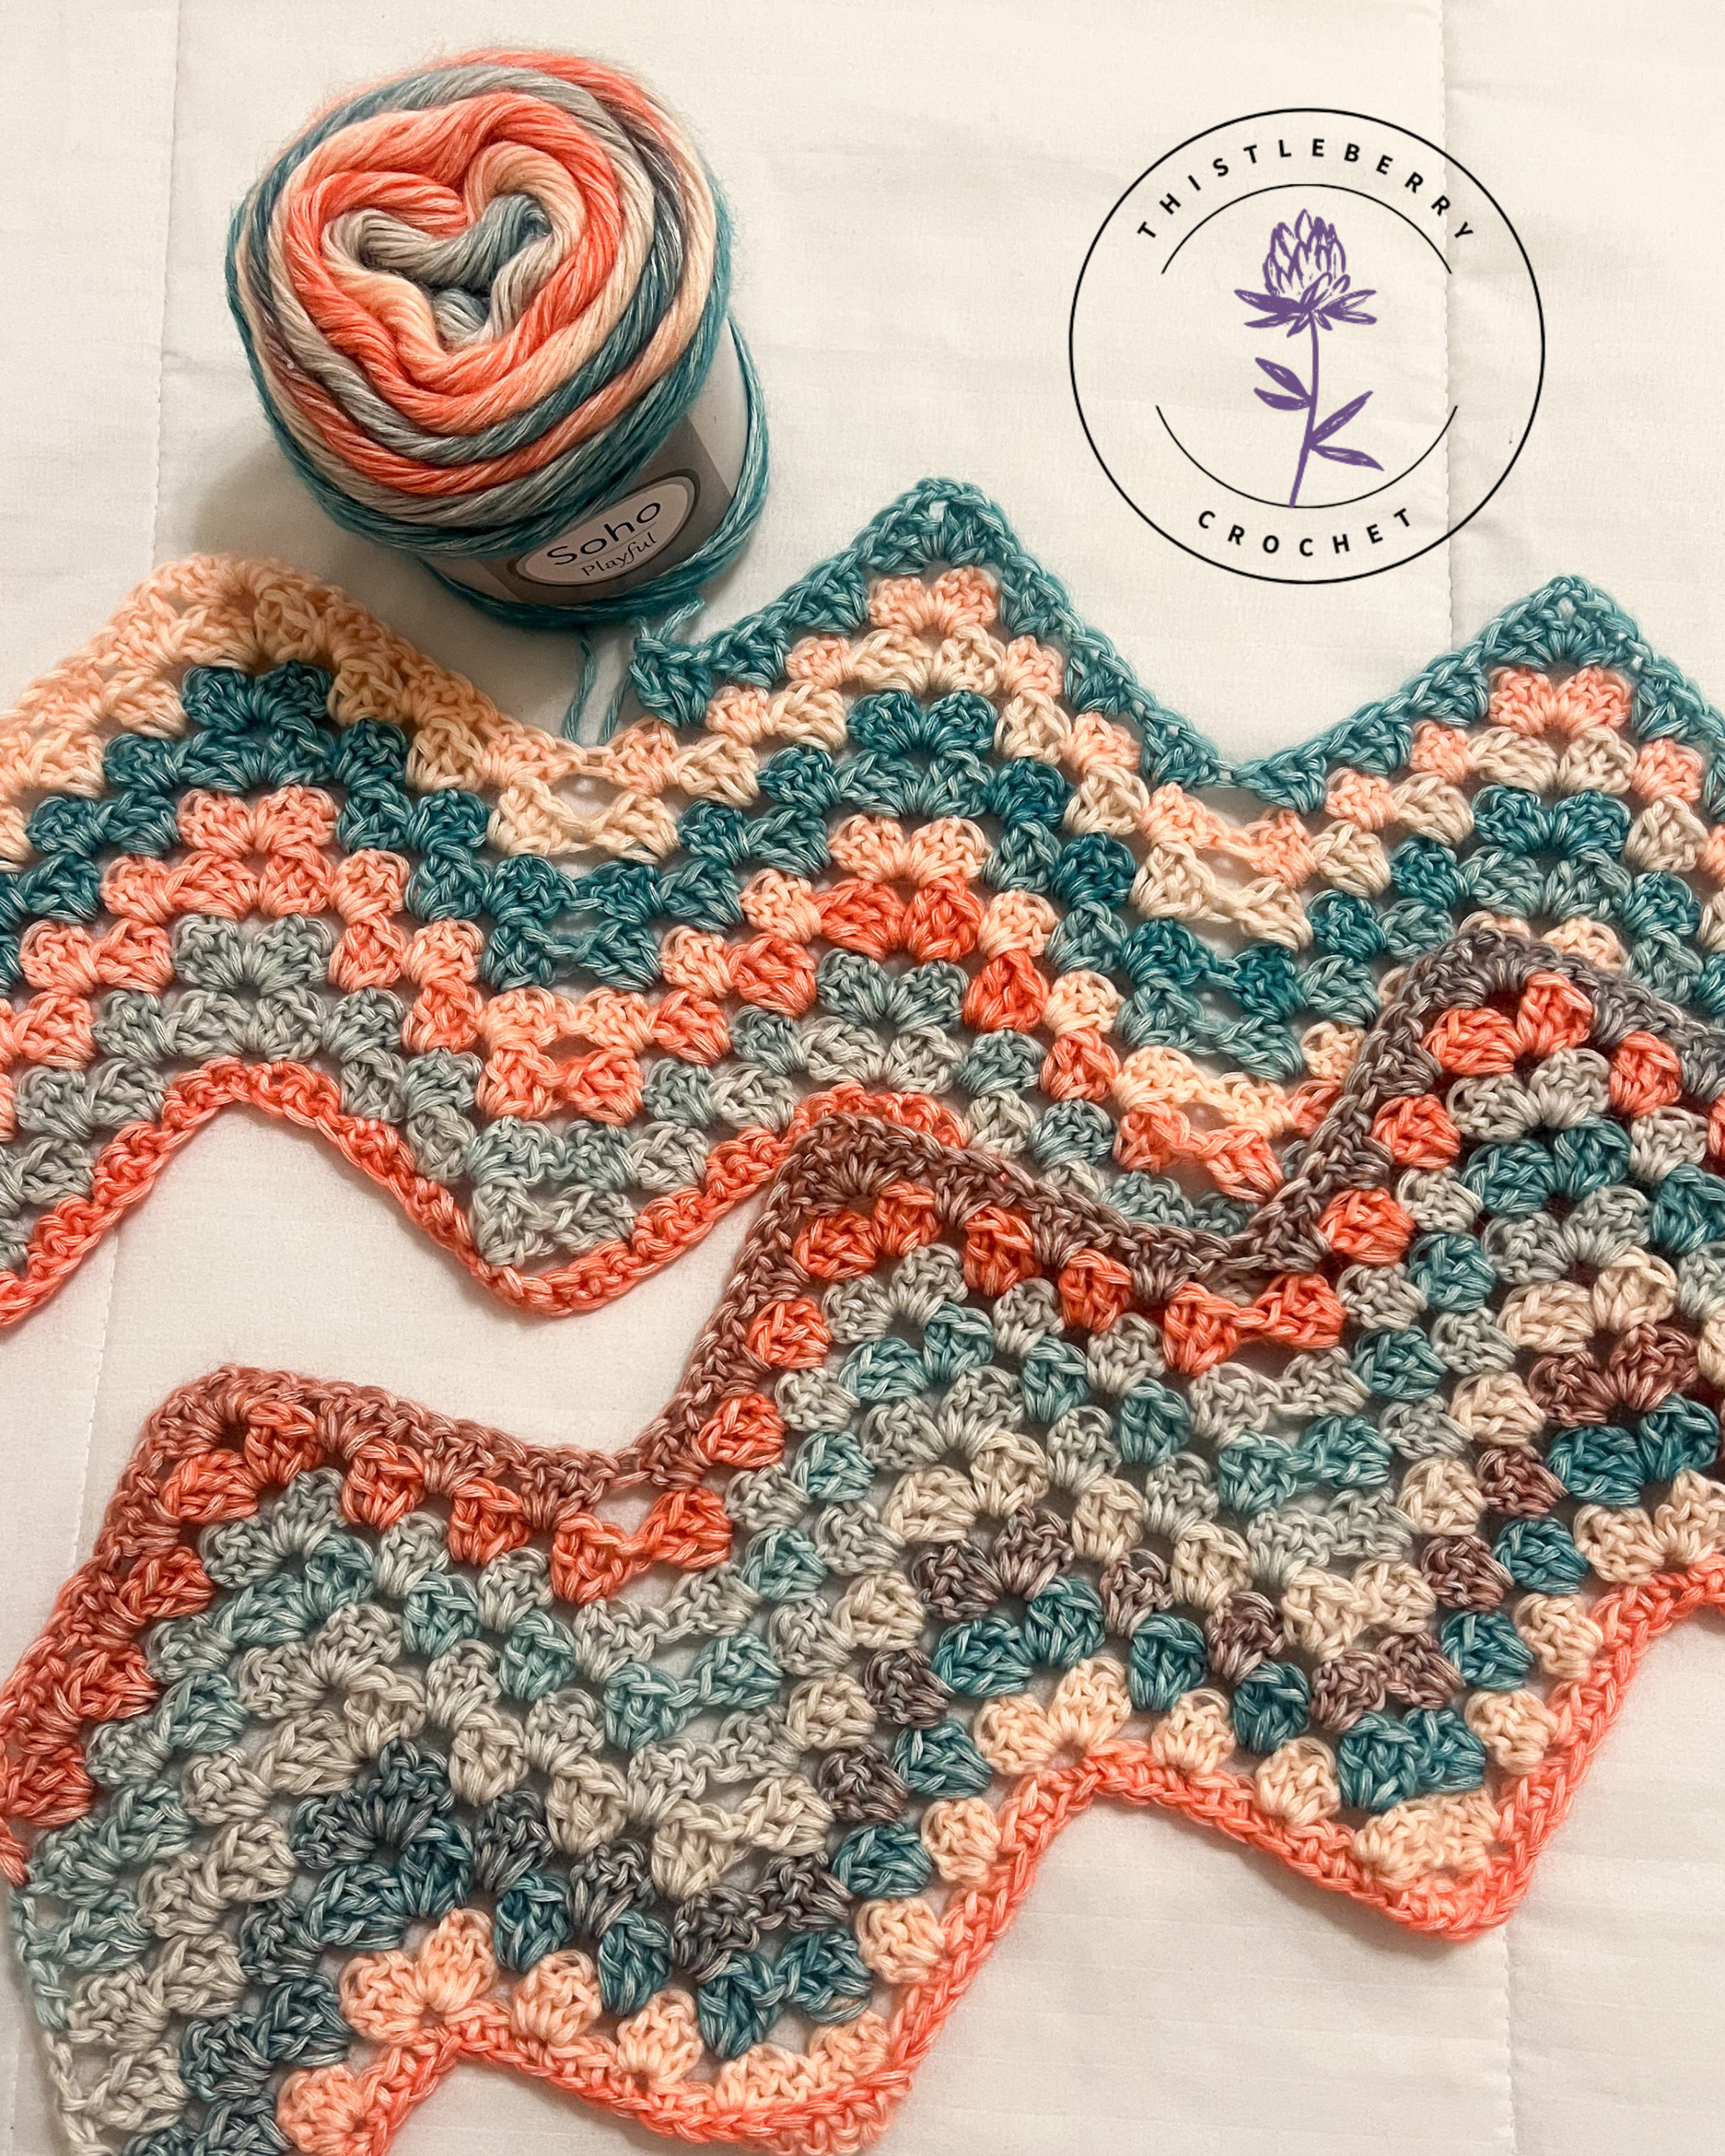
This “playful” throw blanket is created using Soho Playful self striping yarn from Herrschners! Use this or another self-striping medium / 4 weight yarn to get a fun striped chevron effect without the work of weaving in ends, or make yours in a solid color or by changing colors at the end of each row for more control in how the finished blanket will look!
I’ve included some optional instructions at the end of the pattern for how to add a partial border along the sides of the blanket so that everything matches up extra nicely.
KEEP SCROLLING FOR A LINK TO THE YOUTUBE VIDEO TUTORIAL FOR THIS PATTERN.
A low cost downloadable PDF of this pattern is also available on my Etsy shop, HERE. Thanks so much for your support!

Pattern Skills:
Here are the skills you’ll need to know (or can learn from my tutorial video) to complete this pattern:
Chain
Double Crochet
Supply List:
Yarn:
9 balls (or 1,925 yards) of Soho Playful from Herrschners
Color Pictured: Sugar Plum (1159)
Two other colors shown at the bottom of this blog post! ;)
Hook: I / 5.5mm (you can buy find my favorite I hook here)
Dimensions:
Finished Throw Dimensions: 45” x 60”
Gauge: 6 clusters, 6 rows = 4” x 4”
The Pattern!
Here is the written pattern for my Playful Chevron Throw. Please note that in this and all of my patterns, US Stitch Terms are used!
Pattern Abbreviations:
ch(s) = Chain(s)
st(s) = Stitch(es)
sk = Skip
sp = Space
sc= Single Crochet
dc = Double Crochet
tch = Turning Chain
Chain 193. (Pattern multiple is 24 + 1)
Row 1: Working in back bar, sc in 2nd ch from hook and in each ch across to end of row.
Row 2: Ch 3, turn. Sk 2 sts, 3 dc in next st (1st cluster). [Sk 2 sts, 3 dc in next st] x 3. Ch 2, 3 dc in last st worked. [Sk 2 sts, 3 dc in next] x 3. Sk 5 sts, 3 dc in next st. [sk 2 sts, 3 dc in next st] x 3. Repeat from until 3 sts remaining. Sk 2 sts, 1 dc in last st.
Note: Should have four clusters up to each chevron “point”, and four clusters down to each chevron “valley”
Row 3: Ch 3, turn. Sk tch and 1st cluster, 3 dc in gap between clusters, [3dc in next gap between clusters] x 3 (last 3dc will be in the ch 2 sp from row below). Ch 2, 3dc in same ch 2 sp. [3 dc in next gap between clusters] x 3. Skip next gap between clusters, and work 3 dc in the next gap. [3 dc in next gap between clusters] x3 (last 3 dc will be in the ch 2 sp from row below). Ch 2, 3 dc in same ch 2 sp. [3 dc in next gap] x 3. Repeat from to end of row, and work 1 dc in 3rd ch/top of tch.
Rows 4-83: Repeat row 3
Fasten off, weave in ends
Optional finishing work: I liked the top and bottom edges of my throw blanket as they were, but worked single crochet stitches along both lengthwise edges by placing 2 sc in each turning chain/ch 3 along the sides of the blanket. You can see how to do this in my tutorial video (check out the video’s timestamps to skip to this or any part you’d like to see).
I hope you have as much fun making your blanket as I did!
I enjoyed making mine so much, I’ve started three more! Here are the colors I’m using for two of my current WIPs:
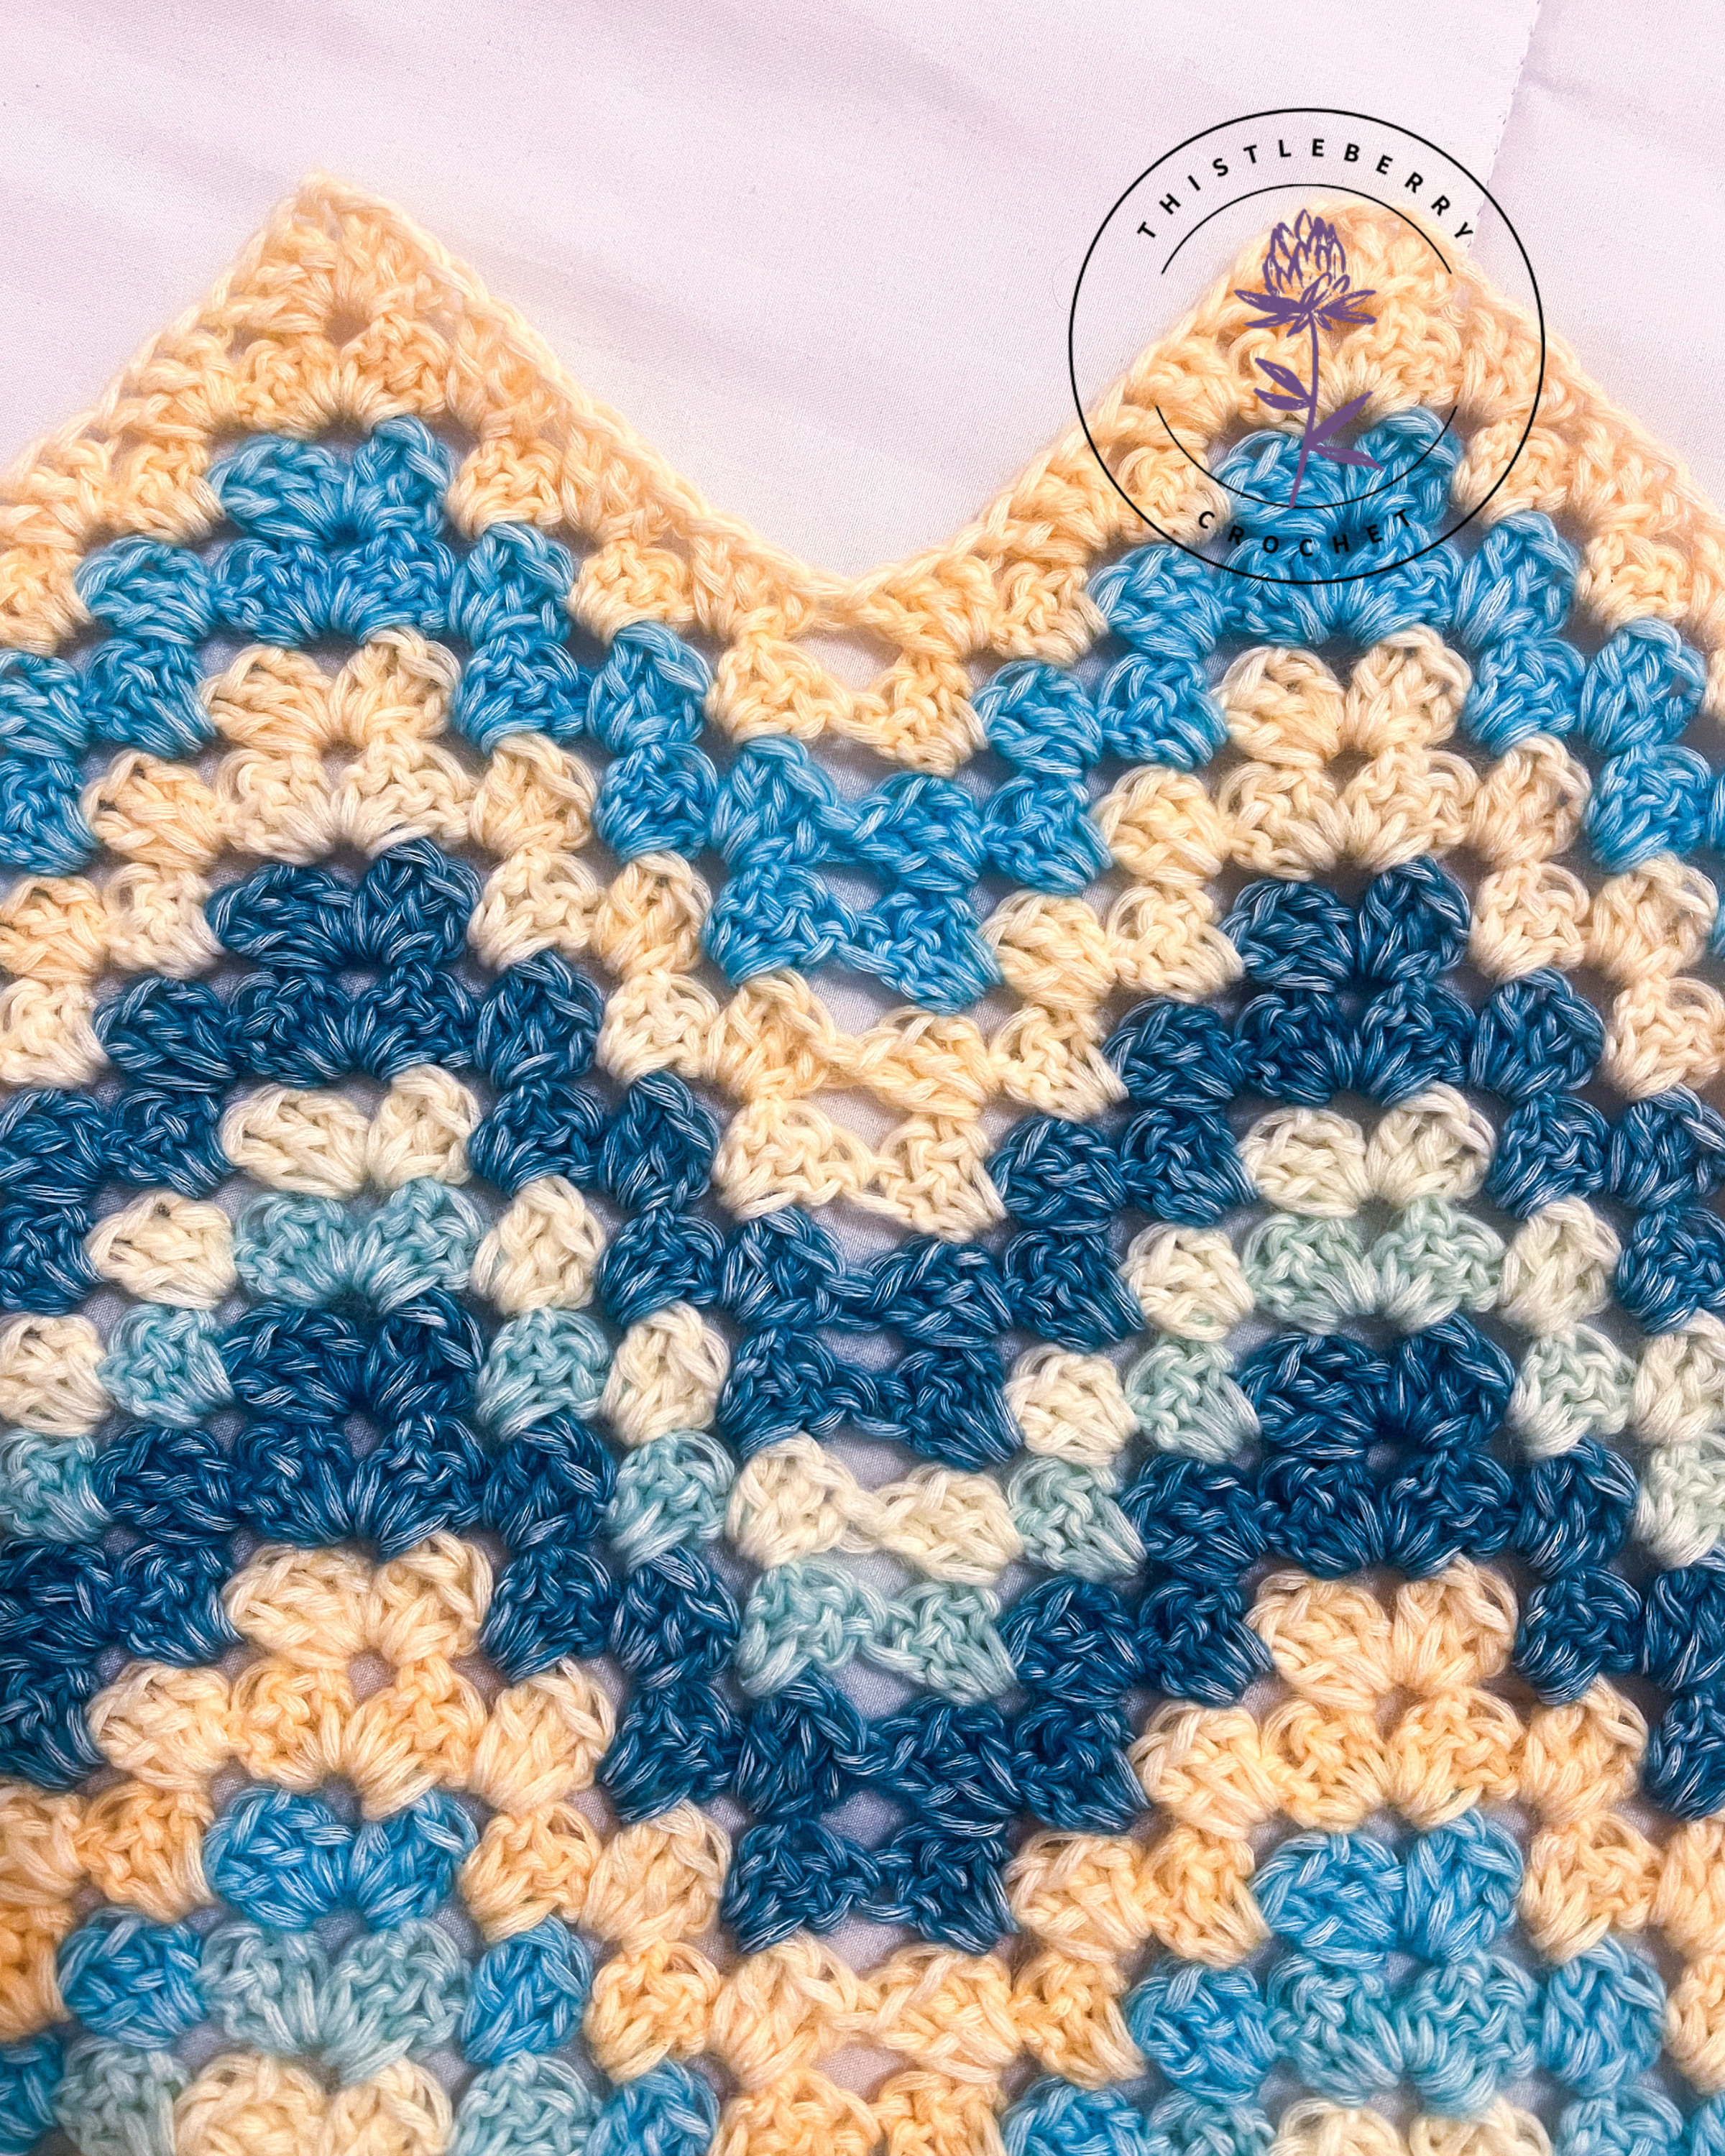
Playful Chevron WIP:
Pictured here in the color “Inlet”. So pretty!
Another chevron throw WIP!
I’m making this one in the color “Borealis”, and am loving how it’s turning out so far!