
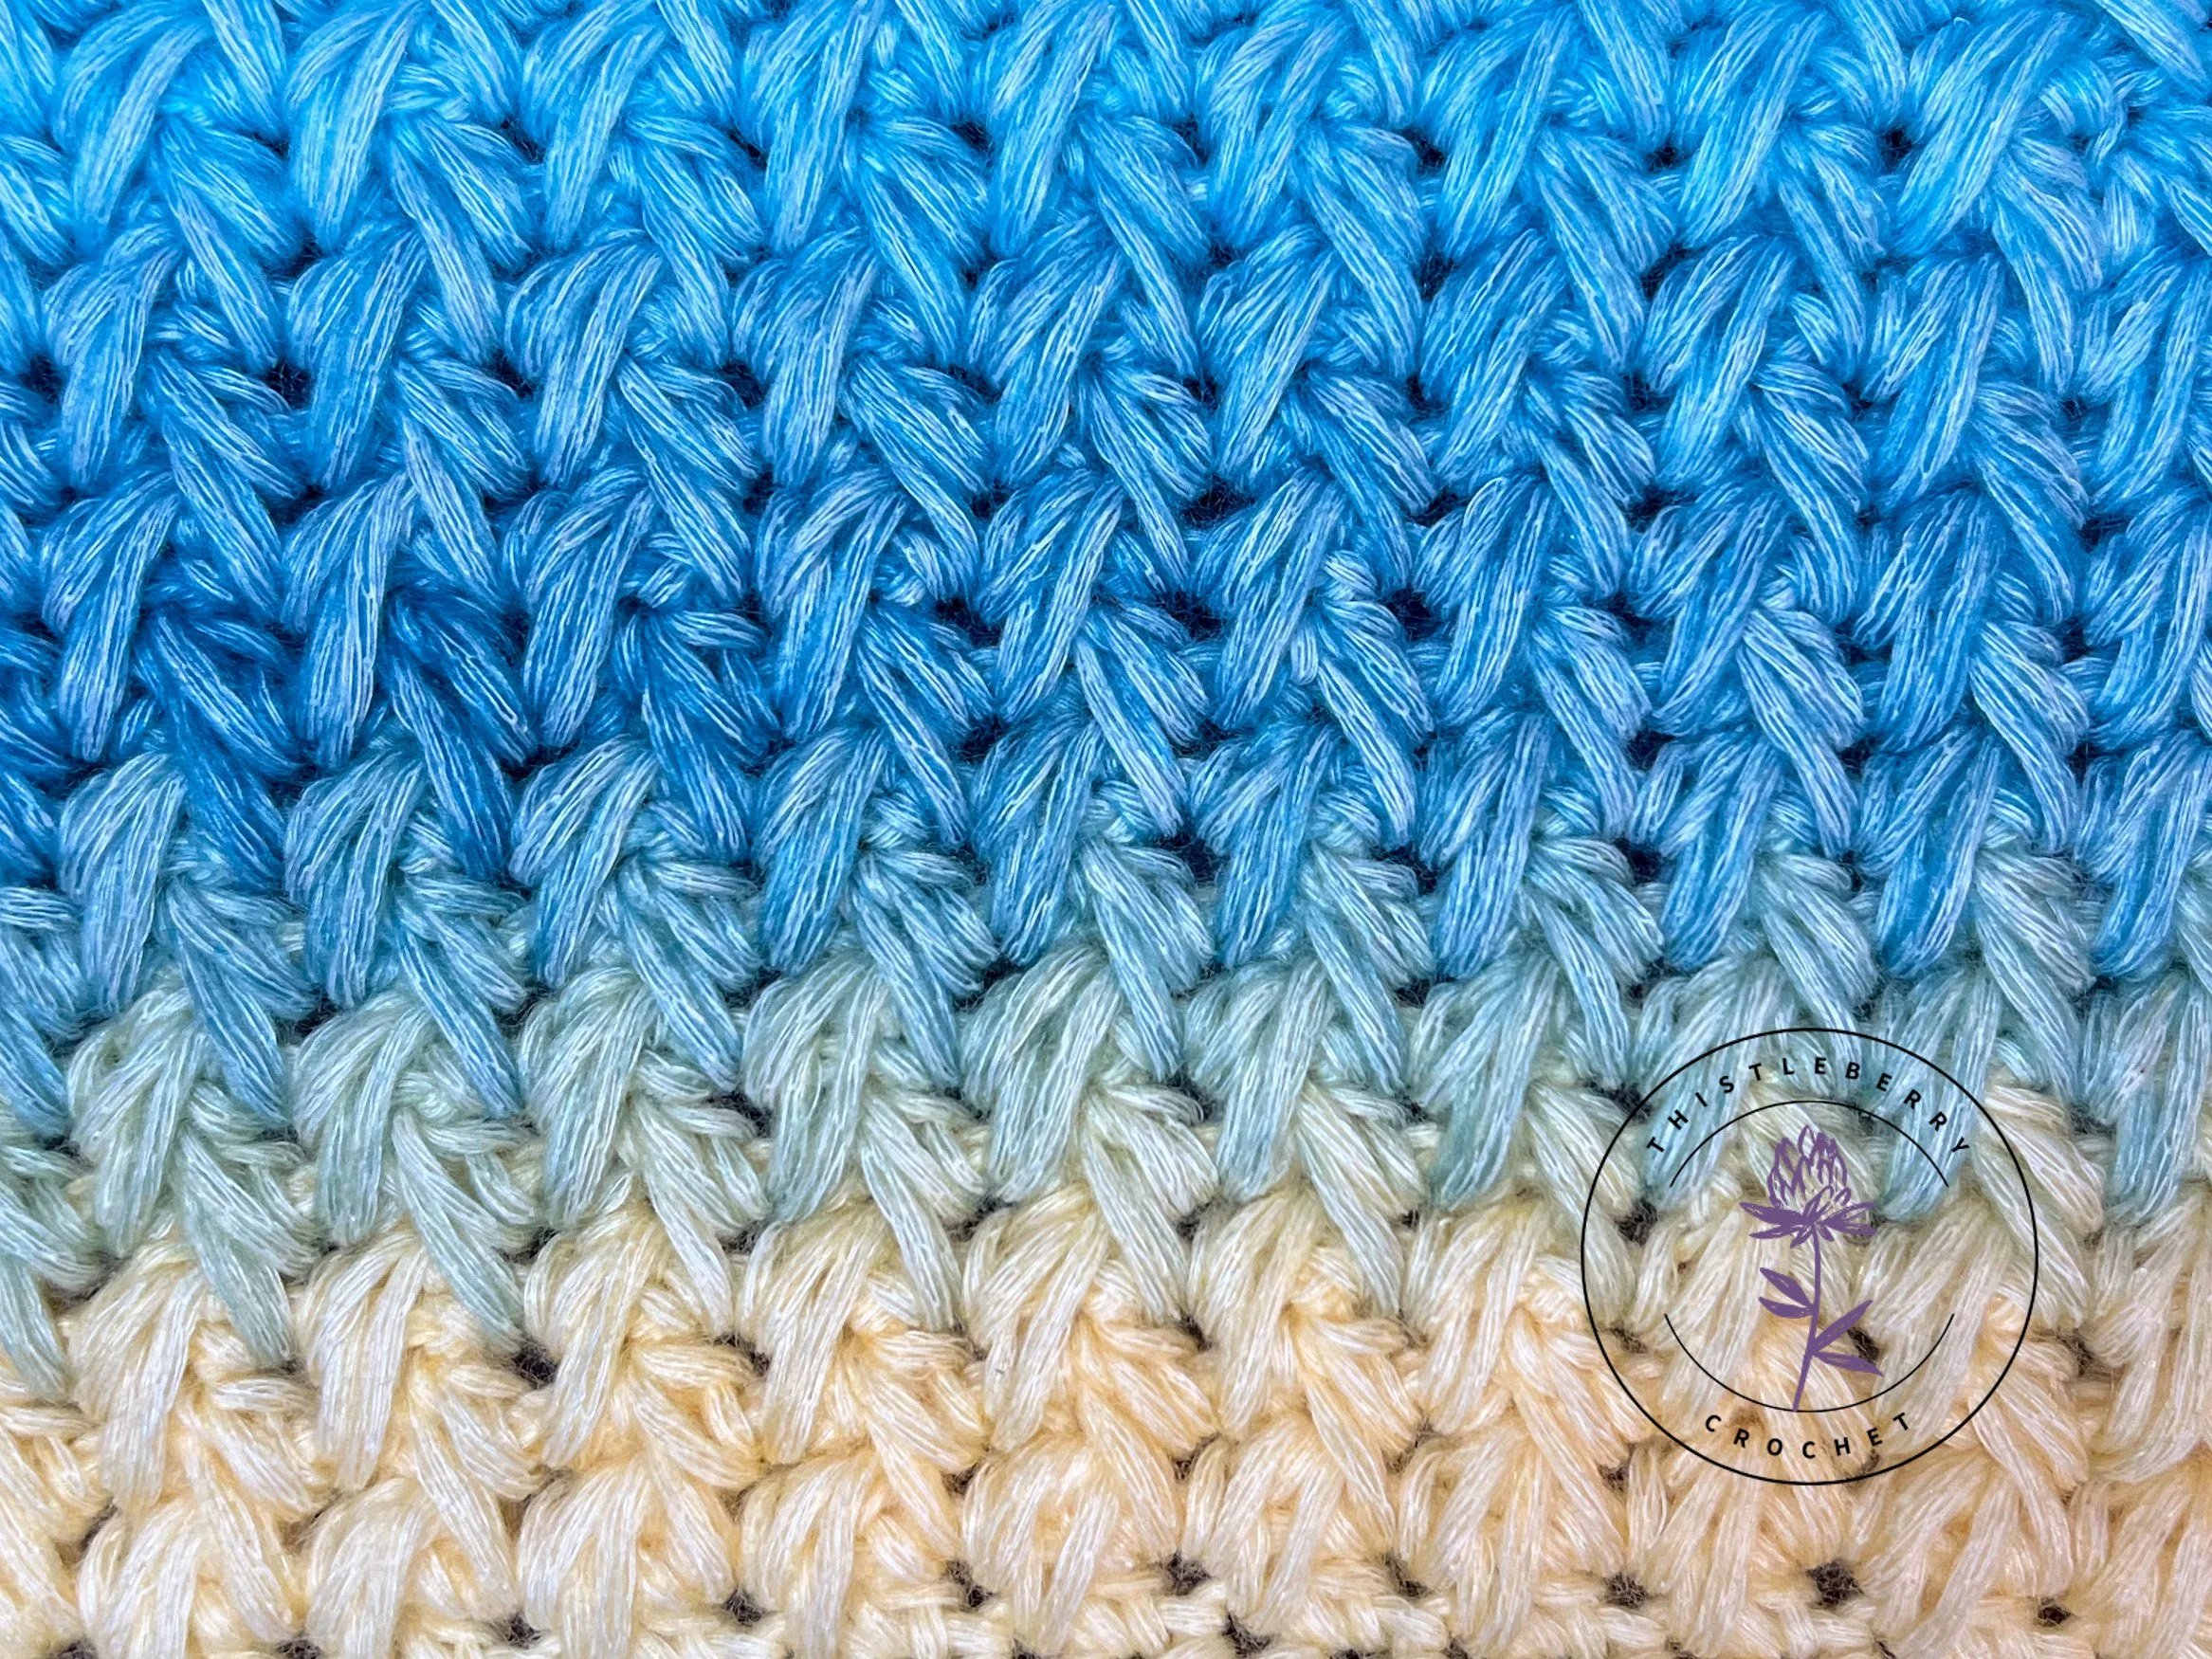
This is a gorgeous stitch! I love everything about it - the squishy thickness, the texture, the fun of working it - I love it all! In some ways it reminds me a bit of working up the Mini Bean stitch. This is a great stitch for blankets, but also for scarves and other cozy projects needing a bit of thickness but while still having great drape. For a beginner, it might be a little bit intimidating to try the Feather Stitch for the first time. It’s not difficult, per se, but when you’re new to understanding the anatomy of a stitch and the jargon of the craft, it can be a little confusing to know exactly where to place your crochet hook.
I’ll give the written instructions for the stitch below, but feel free to watch the tutorial video instead/alongside, especially if you’re new to crochet and need a little extra guidance with hook placement - it’s completely normal if you do! The video does have timestamps in the description, so you can easily skip to just the parts you need help with.
Because it’s a bit more “confusing” to work up by following written instructions, I’m going to omit the standard abbreviations that I typically use below and instead write my instructions out a bit more descriptively. I hope it helps, and that you enjoy this stitch as much as I do!
If you’re curious about the yarn I used in my swatch, it was Herrschner’s Soho Playful in the color “iced out”. It’s a medium/4 weight yarn, and I used a 5.5mm crochet hook. It’s the same yarn that I used in my Playful Chevron Throw pattern!
Let’s get into how to crochet the Feather Stitch!
To begin, create a foundation chain in an even number.
For row 1 (a setup row), work a half double crochet into the 2nd chain from your hook, and in each chain across until you reach the end of the row. This will leave you with an odd number of half double crochet stitches. (Alternatively, you could work an odd number of foundation half double crochet stitches instead, if that’s your preference).
Row 2 is our second setup row. You will chain 1, turn your work. Then work a half double crochet into the first stitch of the row, and chain 1. Skip 1 stitch, and into the next work a half double crochet and chain 1. Repeat this across the row, skipping 1 stitch, and into the next stitch working a half double crochet and a chain 1. When you reach the last stitch of the row, work one last half double crochet.
Row 3 is where we begin making our feathers! Chain 1 and turn your work to start. Work a half double crochet into the first stitch, and chain 1. Yarn over, insert your hook into the first chain 1 space, yarn over and pull up a loop (there will be 3 loops on your hook). Yarn over and insert your hook into the first skipped stitch from the row below, yarn over and pull up a loop (5 loops on your hook). Make sure to pull your loops up so that they are all the same height as you work the feathers! Yarn over, and insert your hook into the next chain one space of the current row being worked, yarn over and pull up a loop. You will have 7 loops on your hook. Yarn over, pull through all 7 loops, and chain 1 to complete your feather.
Begin your next feather by yarning over, and inserting your hook into the same chain 1 space that you’d just worked into as you finished your last feather. Yarn over, and pull up a loop. Yarn over, insert your hook into the next skipped stitch from the row below, yarn over and pull up a loop. Yarn over, insert your hook into the next chain 1 space for your current row, yarn over and pull up a loop. Yarn over, pull through all 7 loops on your hook, yarn over and chain 1 to complete the feather. Continue creating feathers in this way until the end of your row. When you’ve reached the end, you will work a half double crochet into the last stitch, chain 1 and turn your work to begin the next row.
Note: Row 3 is the repeat row, however for row 4 and beyond there are no longer skipped stitches below to work into. Instead, you’ll be working into the chain 1 spaces from the row below instead! Same concept, and the feathers will look the same, it’s just technically now the chain 1 space below instead of a skipped stitch.
Repeat until your project is the desired length!
Here’s a couple of tips that might be helpful to you:
1.) If you struggle to pull through all 7 loops on your hook, pull them a little bit taller as you create the loops. You can also pull downward a bit with the hand that’s holding your work, so that you can create a nice little gap for the hook to glide through without catching on the millions of loops.
2.) If you struggle to know when to end the row, you’ll know that when you have just two chain spaces left in your row, that you’re on your last feather! The last chain space will be just to the left of the last feather you worked in the row below. After your final feather of the row, you’ll be chaining 1 like usual, skipping the chain from the row below and working your half double crochet into the half double crochet from the row below.
3.) If it’s hard to visualize based on the written instructions, give the video a glance. Before beginning the first row of feathers, I take the time to point out the specific places we’ll be placing our hooks as we work the stitches.